
Indian CuisineIndian FoodDurban Indian

Brinjal Pakora

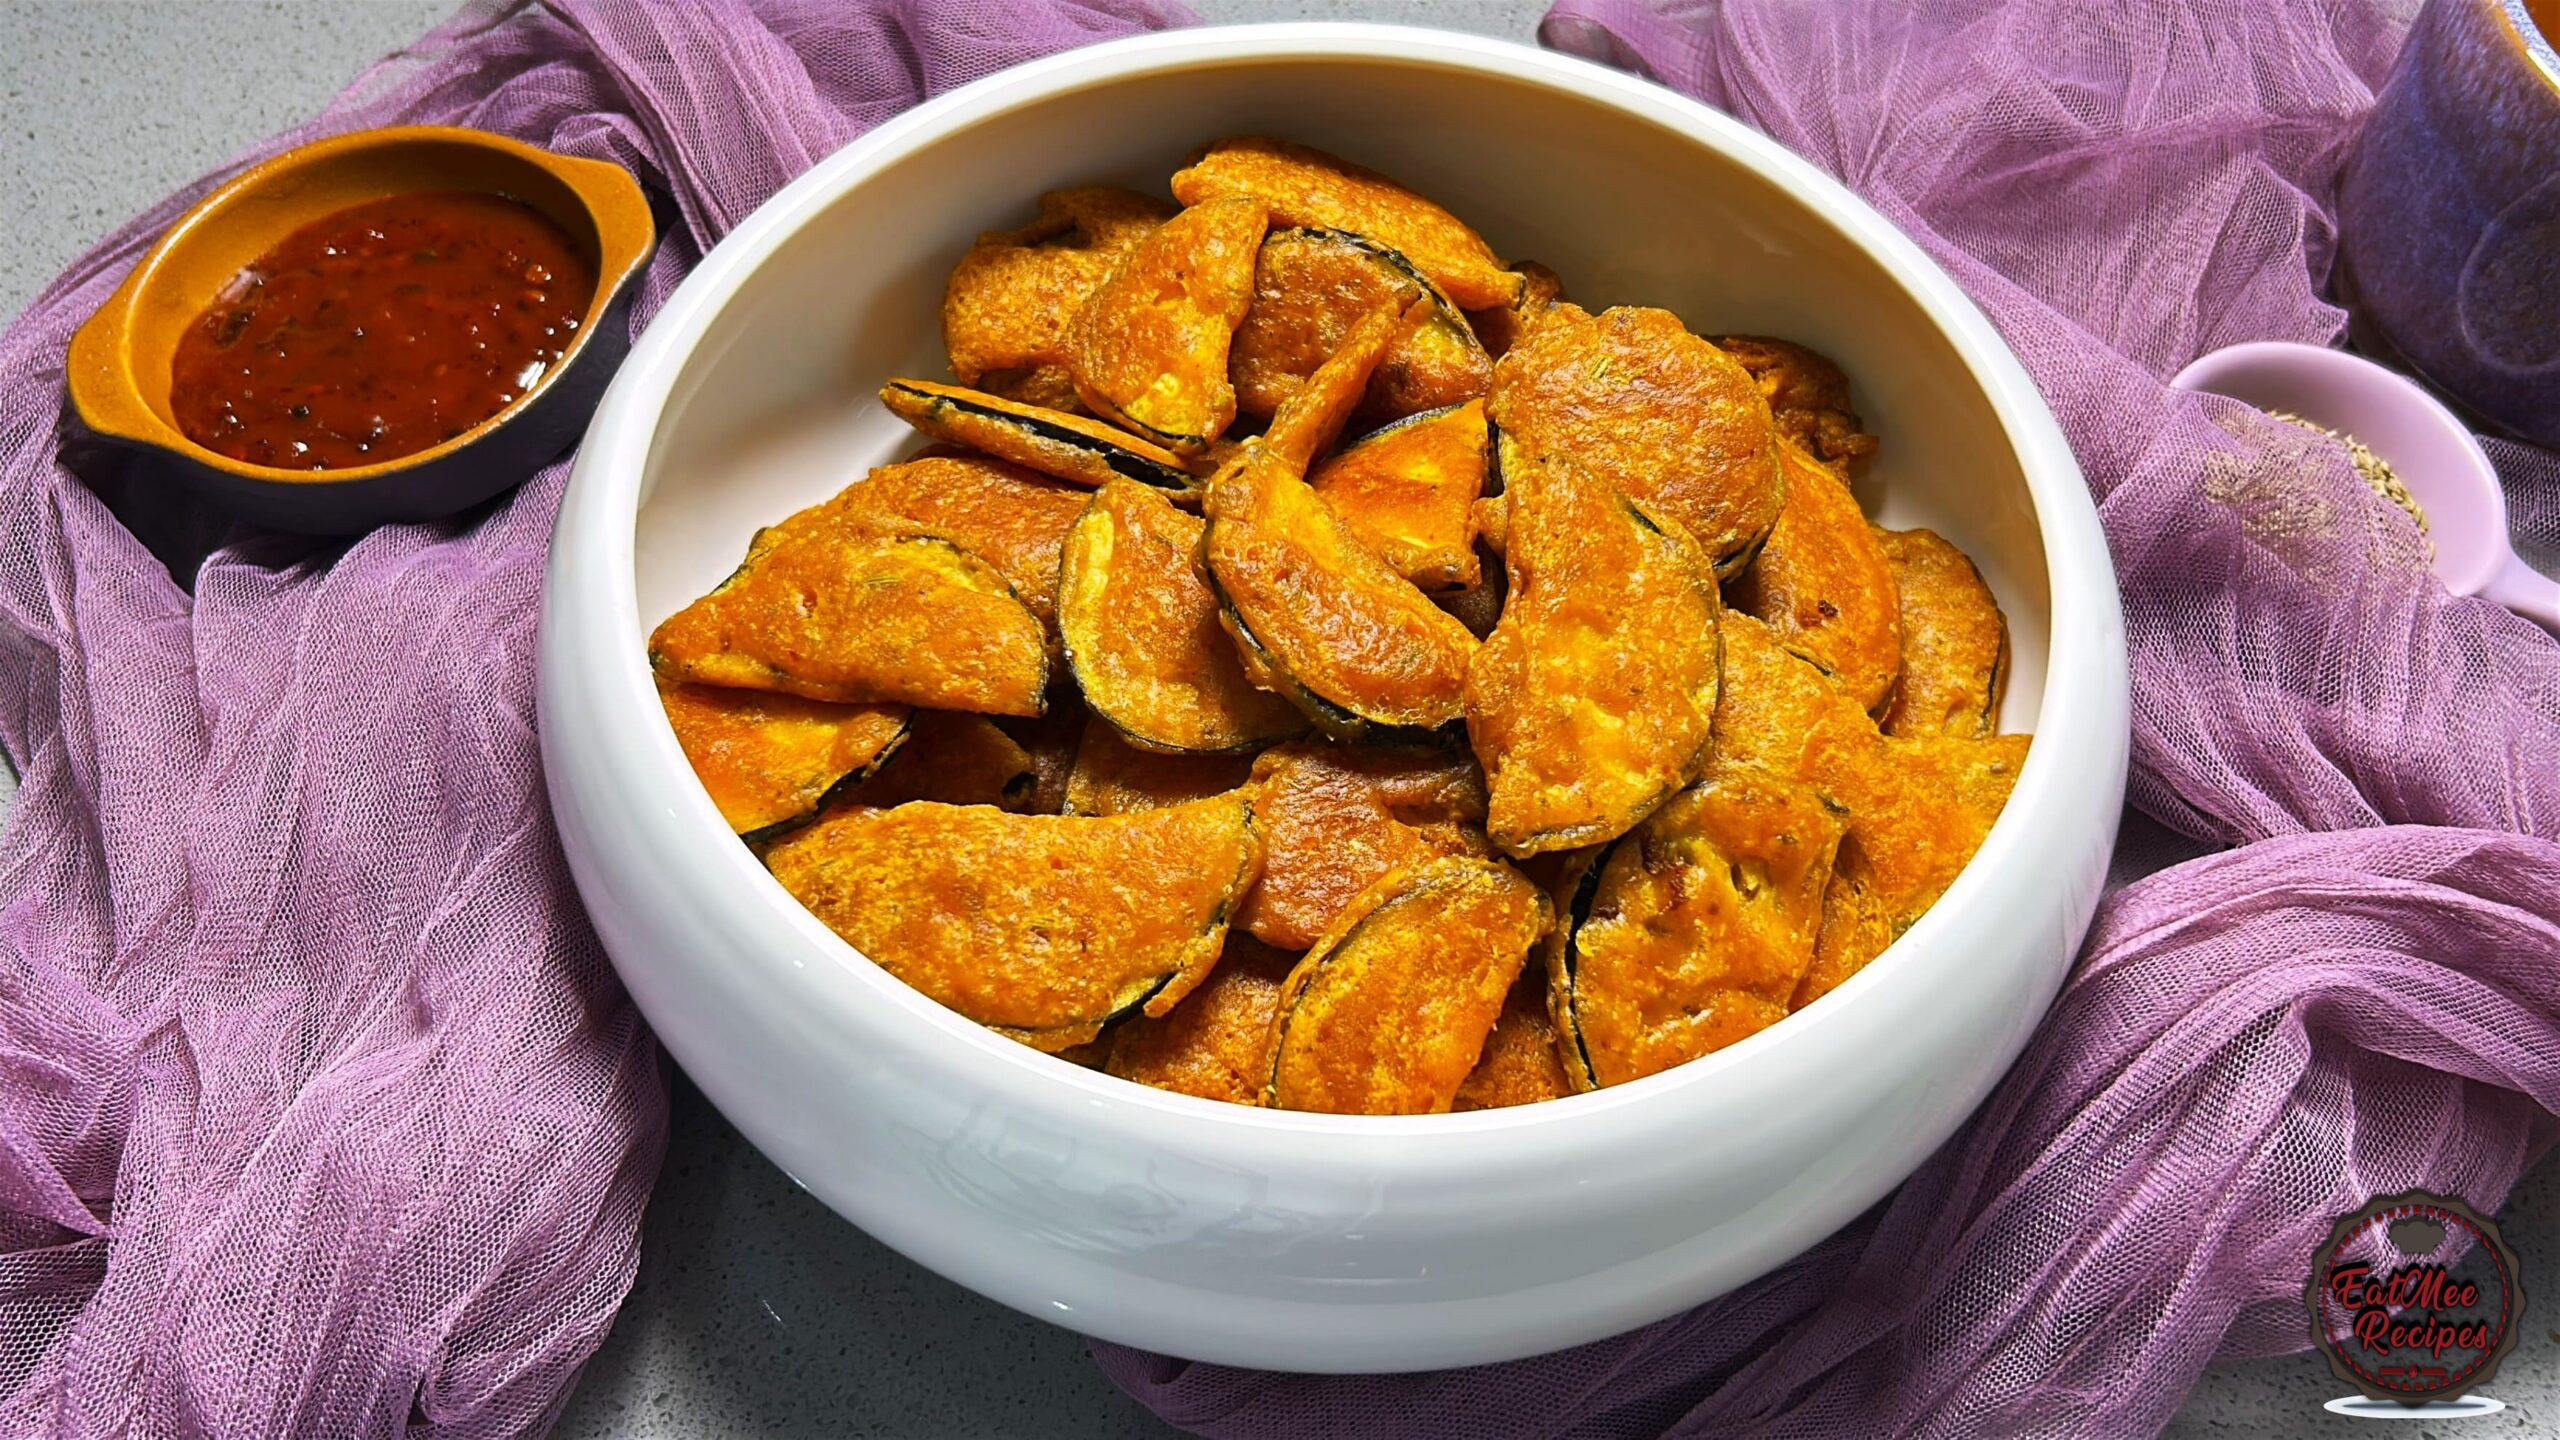
Crispy, golden and delicious, these Brinjal Pakoras are made with thin slices of brinjal coated in a warmly spiced chilli bite batter...

D
By DenisiyaPublished on October 2, 2026
Brinjal Pakora
⏱️
Prep Time15 mins
🍳
Cook Time3 mins
⌛
Total Time18 mins
🍽️
ServingsMakes 25-30 Bite-Sized Brinjal Pakoras

This Recipe Makes 25-30 Bite-Sized Brinjal Pakoras

Episode 14 of Mum’s Series: How My Mum Makes It

Crispy, golden and delicious, these Brinjal Pakoras are made with thin slices of brinjal coated in a warmly spiced chilli bite batter before being fried until beautifully crisp.

This is another one of those simple South African Indian recipes that reminds me of home. My mum makes her brinjal pakoras slightly differently from how my grandmother used to make them. My grandmother would leave the brinjal slices as whole circles, while Mum cuts each slice in half.

And I actually prefer Mum’s way! The smaller pieces become crispier all around, are easier to eat and make the perfect bite-sized pakoras. They’re almost like little brinjal chips and once you start eating them, it’s very hard to stop.

My favourite way to enjoy them is actually sandwiched between buttered bread, but they’re just as delicious served on their own, with a dipping sauce or alongside a meal.

🥗

Ingredients

Scale:
Base Yield: Makes 25-30 Bite-Sized Brinjal Pakoras
👩‍🍳

Step-by-Step Instructions

  1. Start by preapring the batter. Mum uses the Pakco chilli bite mix, but you can use any brand of chilli bite mix.

    Step 1 illustration
  2. Add the chilli bite mix to a deep mixing bowl.

    Step 2 illustration
  3. Add the all-purpose or cake flour, corn flour and baking powder, followed by the turmeric powder, garam masala, cumin powder, chilli powder, salt and cumin seeds.

    Step 3 illustration
  4. Mix all the dry ingredients together until evenly combined.

    Step 4 illustration
  5. Gradually pour in the milk while mixing continuously. Mum uses the milk straight from the fridge, so there’s no need to bring it to room temperature.

    Step 5 illustration
  6. You may need anywhere from ½ to ¾ cup of milk, so add it gradually until you reach the right consistency.

    Step 6 illustration
  7. You want a smooth, medium-thick batter that is thick enough to coat the brinjal generously, but still flows easily from a spoon or whisk. It shouldn’t be so thick that it clumps onto the brinjal, and it shouldn’t be so runny that it slides straight off.

    Step 7 illustration
  8. Place a 20 cm pan over medium heat and add approximately 500-600 ml vegetable oil, or enough oil to fry the pakoras comfortably. Allow the oil to heat while you prepare the brinjal. The oil should be hot enough that a little batter dropped into it sizzles immediately, but it should not be smoking.

    Step 8 illustration
  9. Next, onto the brinjal.

    Step 9 illustration
  10. Slice off the top of the brinjal and discard then slice the brinjal into rounds approximately ½ cm thick.

    Step 10 illustration
  11. Once all the brinjal has been sliced, you can cover the slices with a paper towel while you prepare the rest. This helps prevent the cut surfaces from oxidising and turning dark.

    Step 11 illustration
  12. Now cut each round in half, creating semi-circle pieces. My grandmother used to leave the brinjal as whole circles, but Mum cuts hers into smaller pieces. I actually prefer them this way because they become crispier all around and make perfect bite-sized portions.

    Step 12 illustration
  13. Take each piece of brinjal and dunk it into the batter, making sure it is well coated.

    Step 13 illustration
  14. Allow any excess batter to drip back into the bowl before carefully placing the coated brinjal into the hot oil.

    Step 14 illustration
  15. Fry in batches and don’t overcrowd the pan, as this can cause the oil temperature to drop and result in greasy pakoras.

  16. Fry for approximately 2-3 minutes per side, turning as needed, until the coating is deep golden, crisp and cooked through.

    Step 16 illustration
  17. The brinjal inside should be tender while the outside is beautifully crisp.

    Step 17 illustration
  18. Cooking time can vary slightly depending on the thickness of your slices and the temperature of your oil, so use the colour and texture as your guide.

    Step 18 illustration
  19. Once golden and crispy, carefully remove the brinjal pakoras from the oil using a slotted spoon.

    Step 19 illustration
  20. Place them onto a plate lined with paper towels to absorb any excess oil.

    Step 20 illustration
  21. Transfer the pakoras to a serving platter and serve while they’re hot and crispy.

    Step 21 illustration
  22. You can enjoy your brinjal pakoras with a dipping sauce or chutney.

    Step 22 illustration
  23. Enjoy as part of a savoury snack platter, as a side dish alongside your favourite meal, or on their own as a snack

    Step 23 illustration
  24. Or my favourite way – sandwiched between slices of buttered bread! There’s something about the crispy, spicy pakora with soft, buttery bread that just works.

    Step 24 illustration
  25. What I love about this recipe is that it’s another little piece of our family food history.

💡

Mum's Pro Tips

Add the milk gradually.

Don’t add all the milk at once. The amount needed can vary slightly depending on the chilli bite mix and flour you’re using.

Get the batter consistency right.

The batter should cling nicely to the brinjal without being excessively thick. If it’s too thick, add a small splash of milk. If it’s too thin, add a little more chilli bite mix or flour.

Slice the brinjal evenly.

Around ½ cm thick works well. If the slices are too thick, the outside may brown before the brinjal becomes tender.

Don’t overcrowd the pan.

Frying in smaller batches helps maintain the oil temperature and gives you crispier pakoras.

Keep the heat at medium.

If the oil is too hot, the batter will brown too quickly. If it’s too cool, the pakoras can absorb too much oil.

Drain immediately.

Place the pakoras onto paper towels as soon as they come out of the oil.

Eat them fresh if you can!

They’re at their absolute best when they’re freshly fried – crispy on the outside and soft and tender inside.