
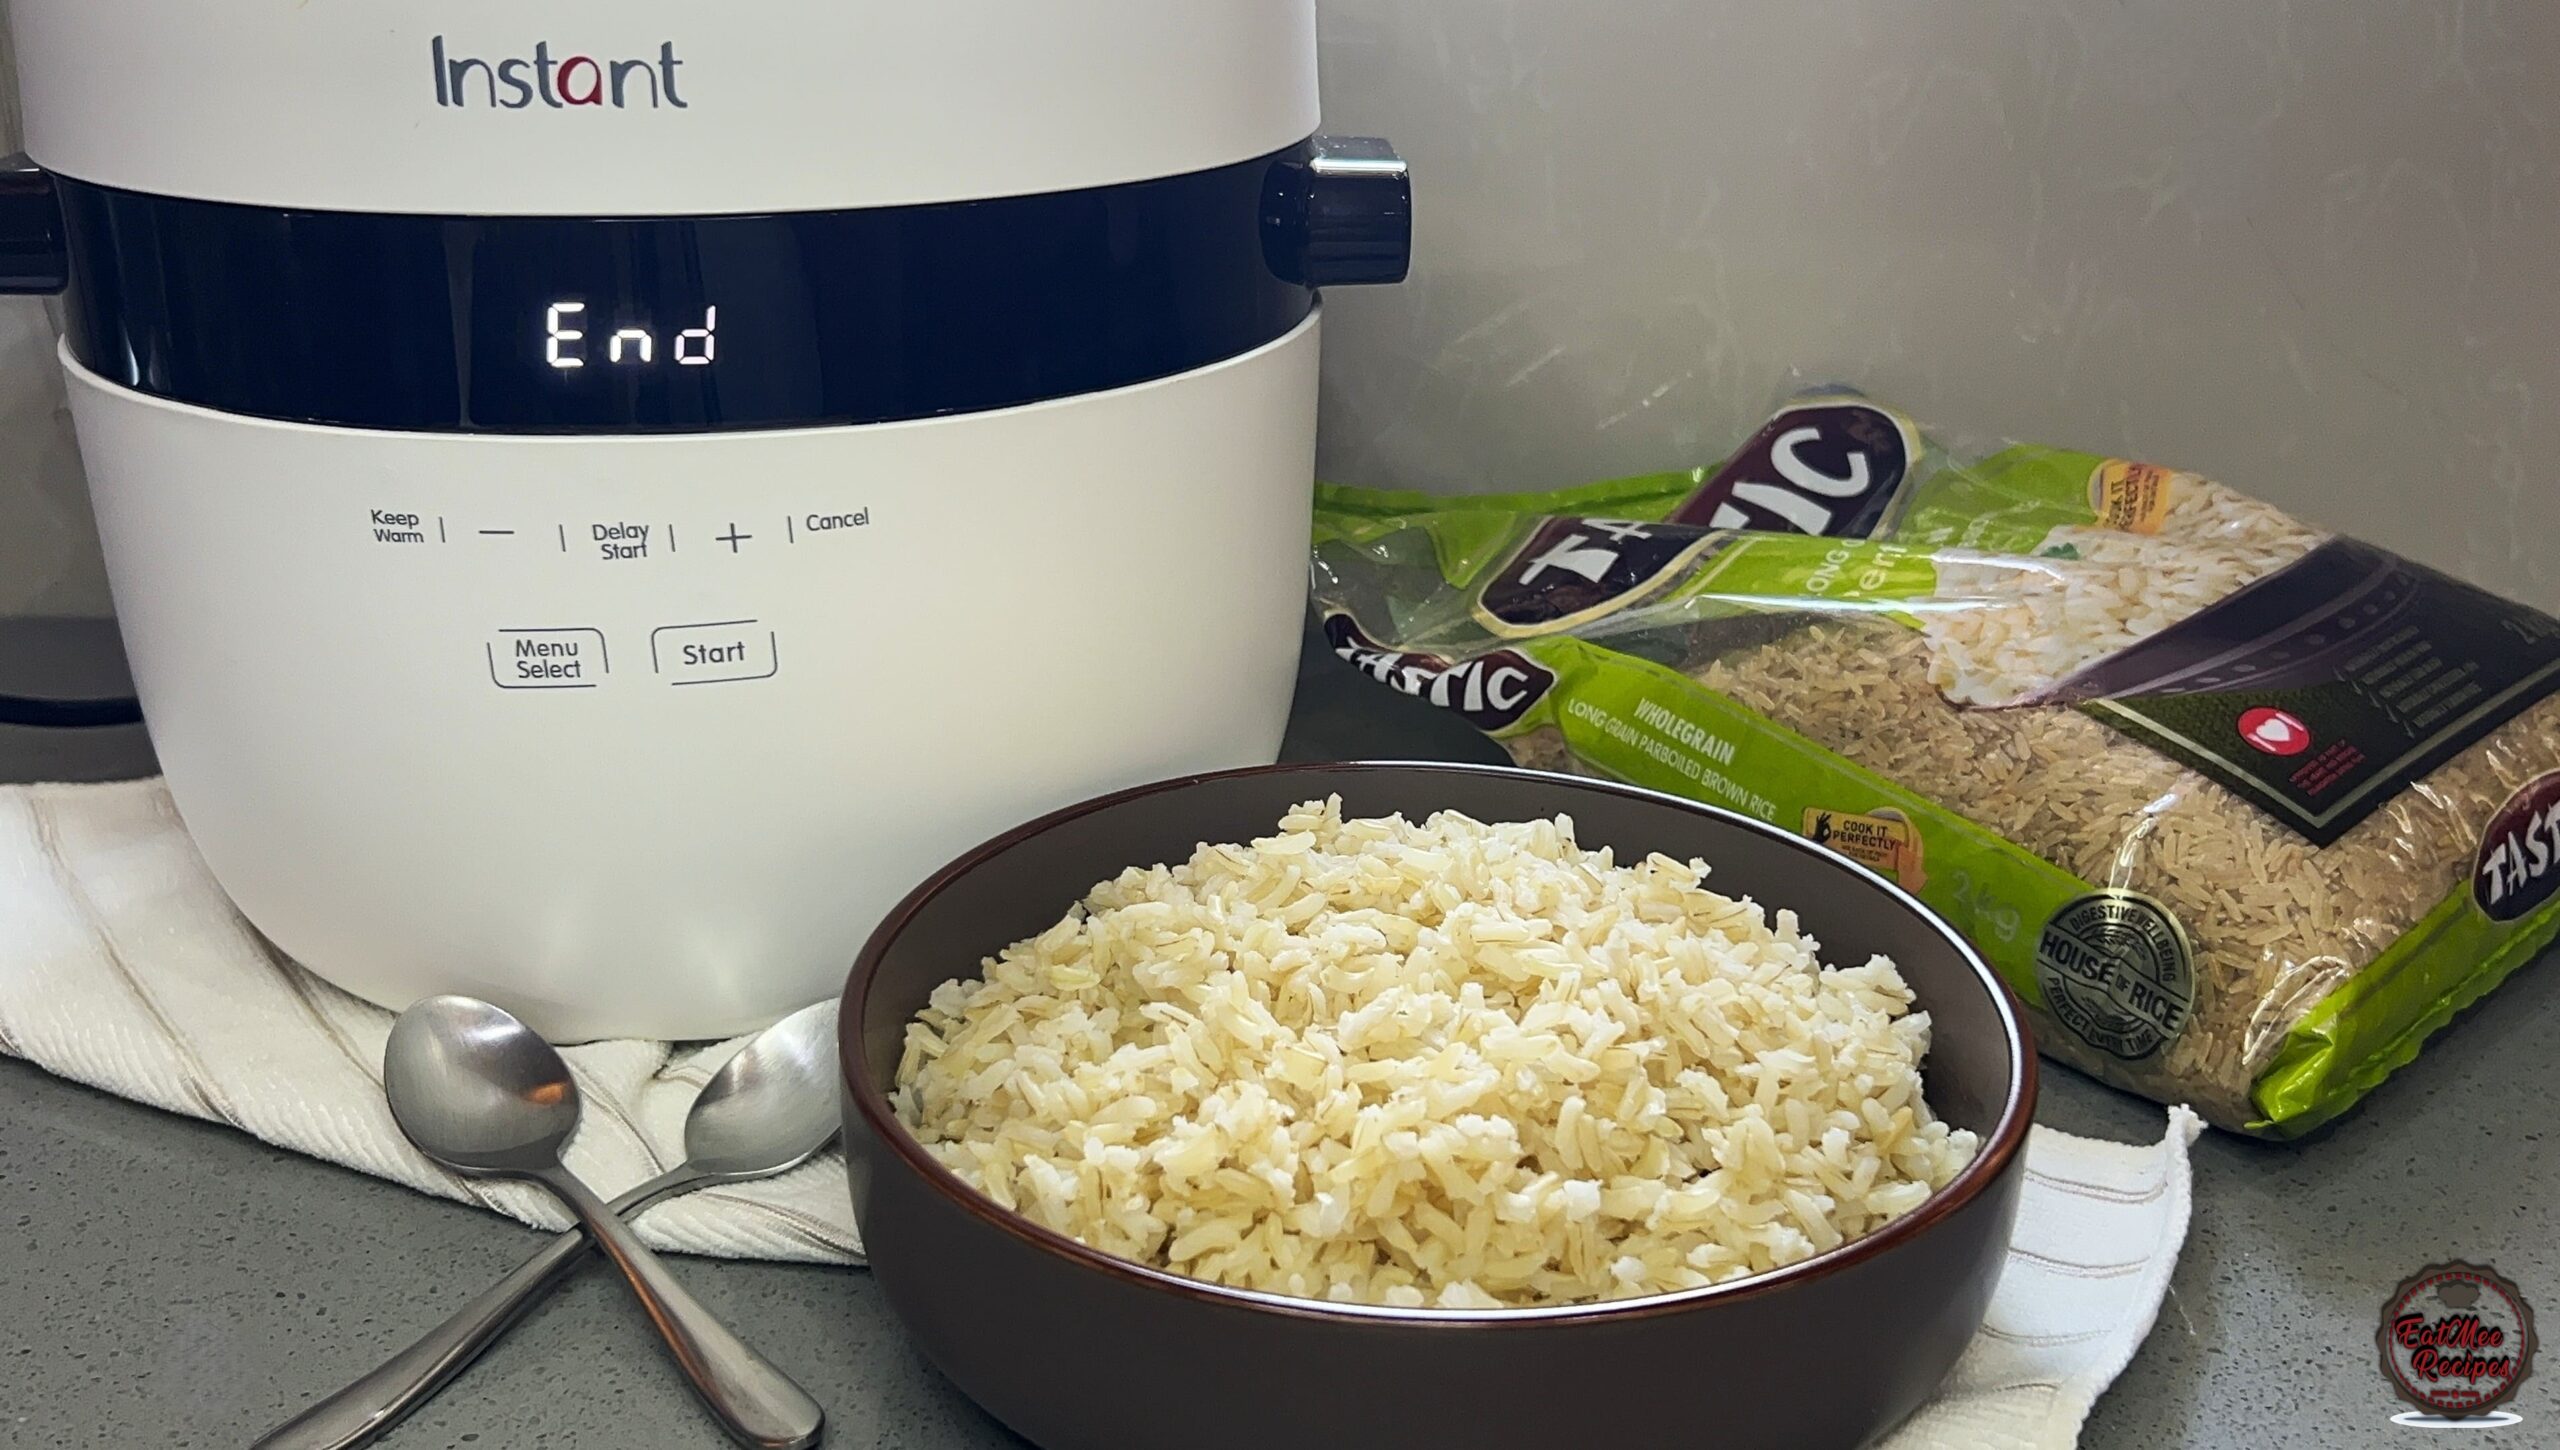
This Recipe Makes 2 Cups Parboiled Rice
Cooking brown rice doesn’t have to mean guessing, undercooked centres, or mushy results. If you’ve ever struggled to get that perfect texture – tender, separate grains with just the right bite then your Instant Pot Rice Cooker does the hard work for you.
Unlike white rice, brown rice takes longer to cook because the bran layer is still intact. But with the right water ratio and a little patience, you’ll get beautifully fluffy brown rice without hovering over the stove.
Why Brown Rice Takes Longer
Brown rice is a whole grain. The outer bran layer makes it more nutritious, but it also means it needs more water and a longer cooking time to soften properly.
In the Instant Pot Rice Cooker, the appliance automatically adjusts the cooking cycle based on moisture and temperature.
A Quick Note About the Instant Rice Cooker
If you’ve already made white rice in the Instant Rice Cooker, you’ll notice brown rice follows the same hands-off approach – just with a longer cycle.
The cooker automatically adjusts its time and temperature based on moisture and internal heat, which is especially helpful for brown rice since it requires more water and extended cooking to soften properly.
Simply select the appropriate program and allow the cooker to complete its cycle uninterrupted.
Should You Open the Rice Cooker While Cooking Brown Rice?
It’s best not to open the lid during cooking.
Brown rice relies on consistent heat and trapped steam to soften the outer bran layer. Opening the lid releases steam, lowers the internal temperature, and can interrupt the automatic cooking cycle, potentially leading to uneven texture or extended cooking time.
While this appliance isn’t pressure-sealed, keeping the lid closed ensures the rice cooks evenly and finishes as intended.
For best results, wait until the cooker switches to Keep Warm, then open the lid and fluff your rice.
Step-by-Step Instructions
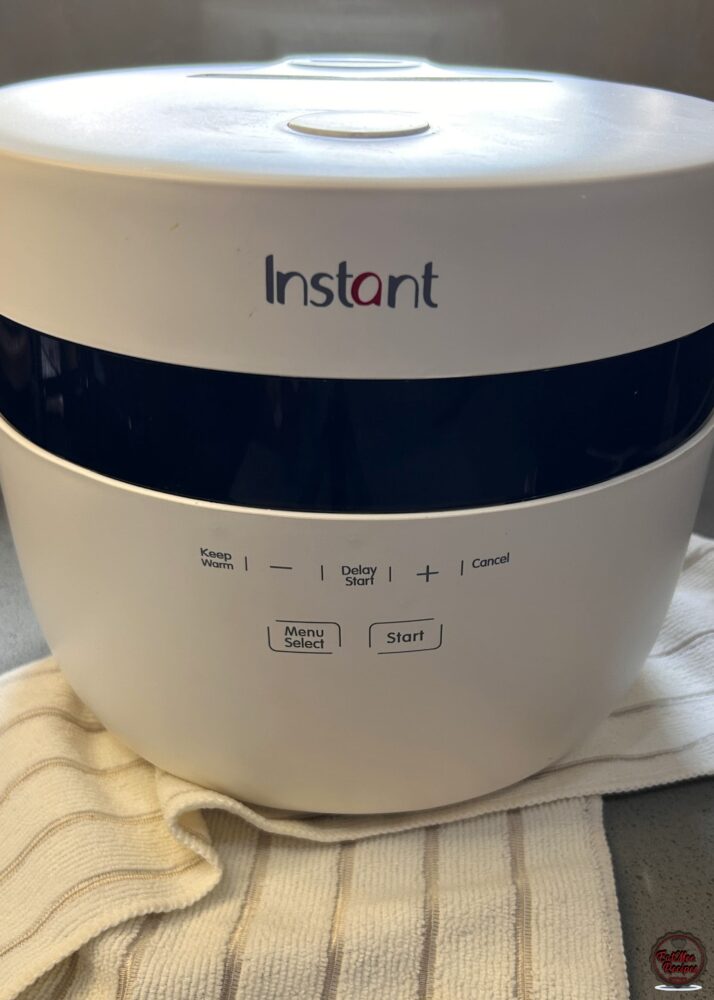
For this recipe, I used the Instant Pot Rice Cooker & Steamer, a 12-cup (2.8 L) rice cooker that makes achieving perfectly cooked rice effortless. It intelligently adjusts the time and temperature according to your ingredients, so you don’t have to.
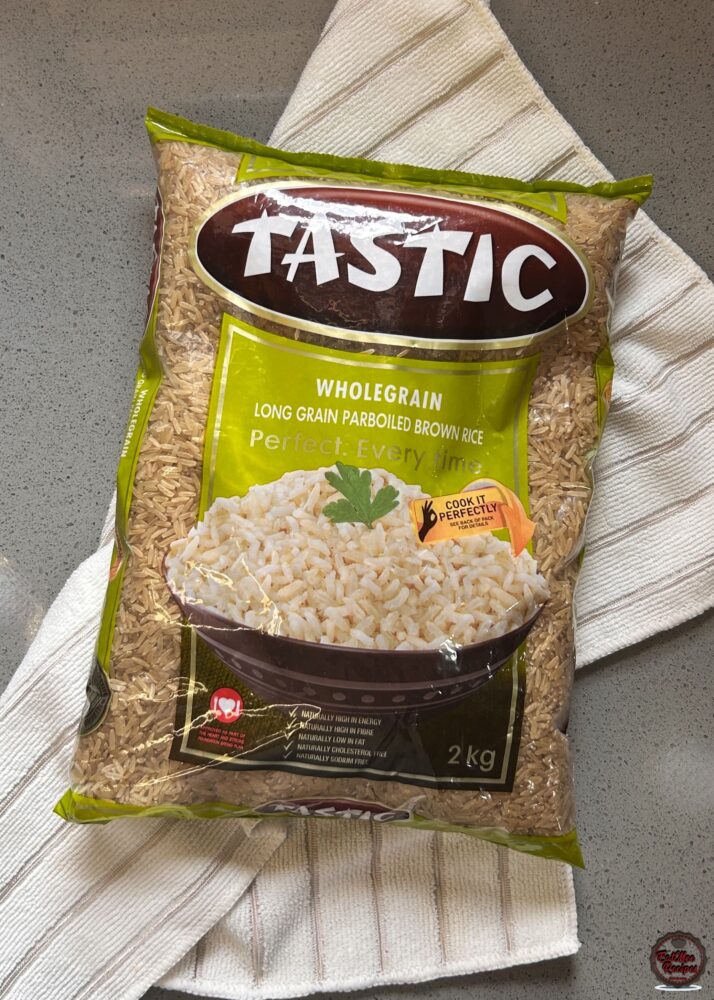
I’m using Tastic long grain parboiled brown rice, but any brand works.
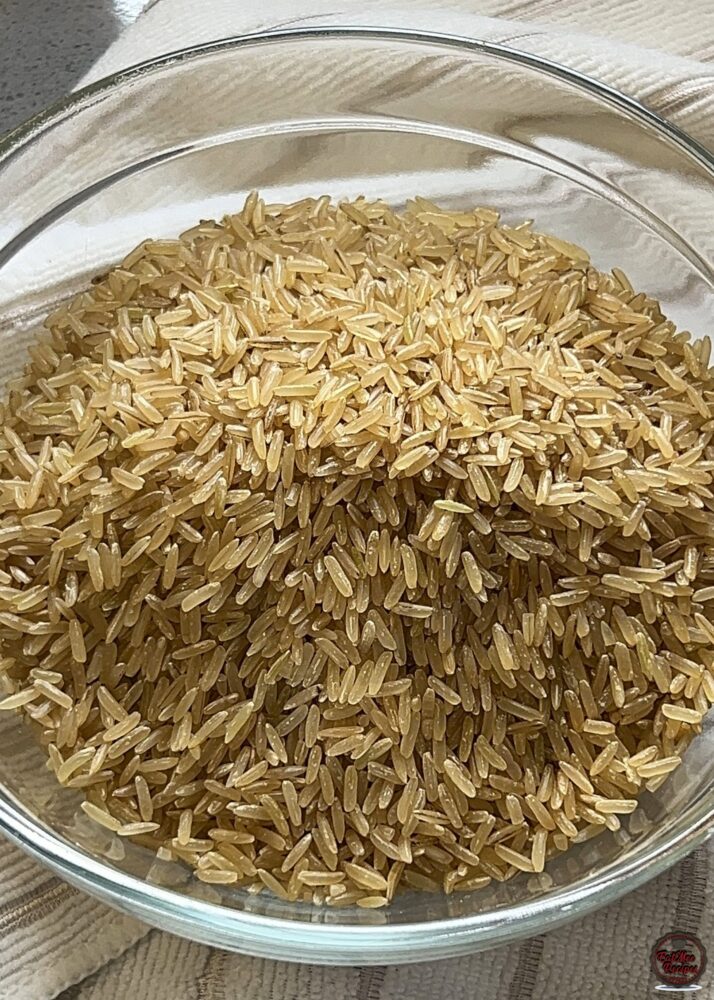
Add 2 cups of rice into a bowl.
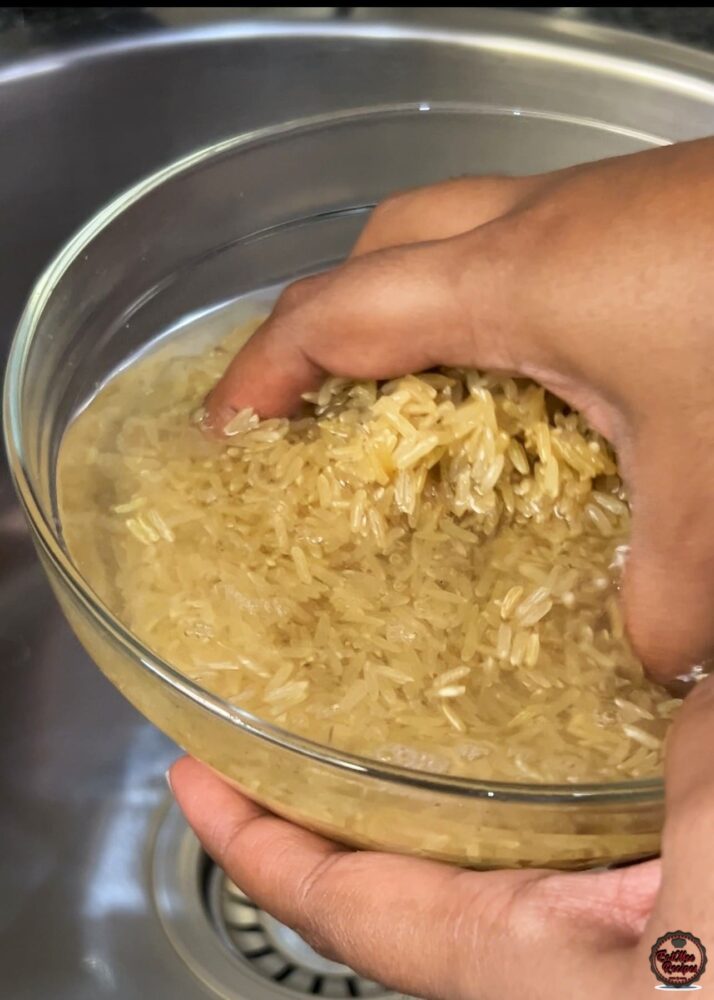
Rinse the brown rice thoroughly under cold water until the water runs mostly clear. This removes excess starch and improves texture.
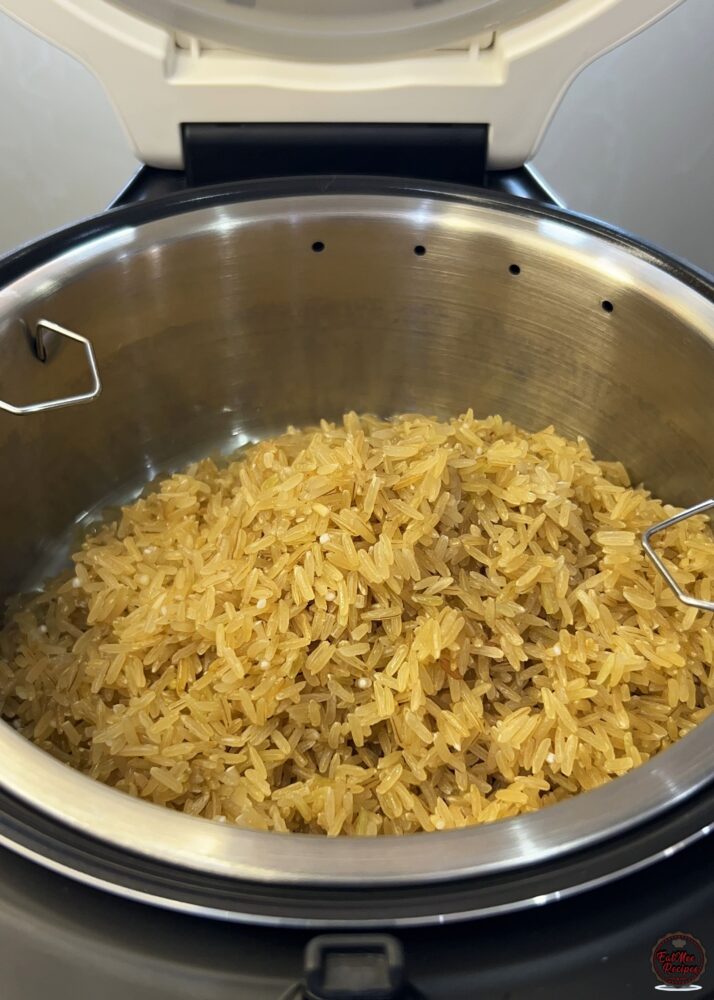
Ensure the inner pot is clean and dry. Place the strainer insert into the inner pot for the strainer method. As with the white rice using the strainer method, I’m limited to just two cups at a time.
Transfer the rinsed rice into the strainer insert.
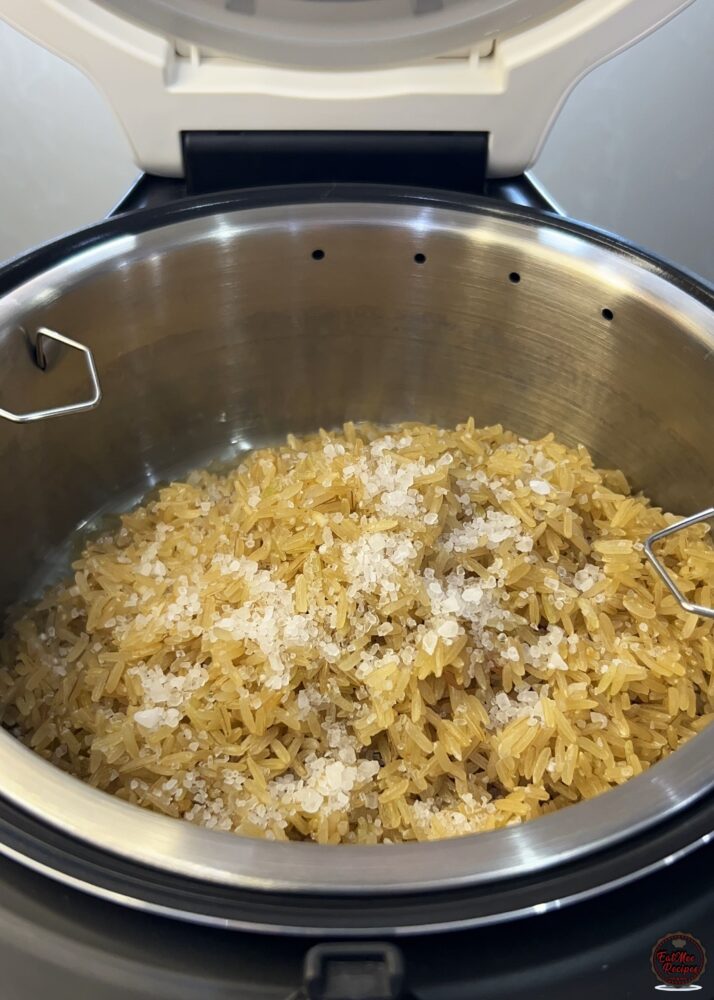
Next, add salt to taste, use your heart to measure it. I’m using rough salt.
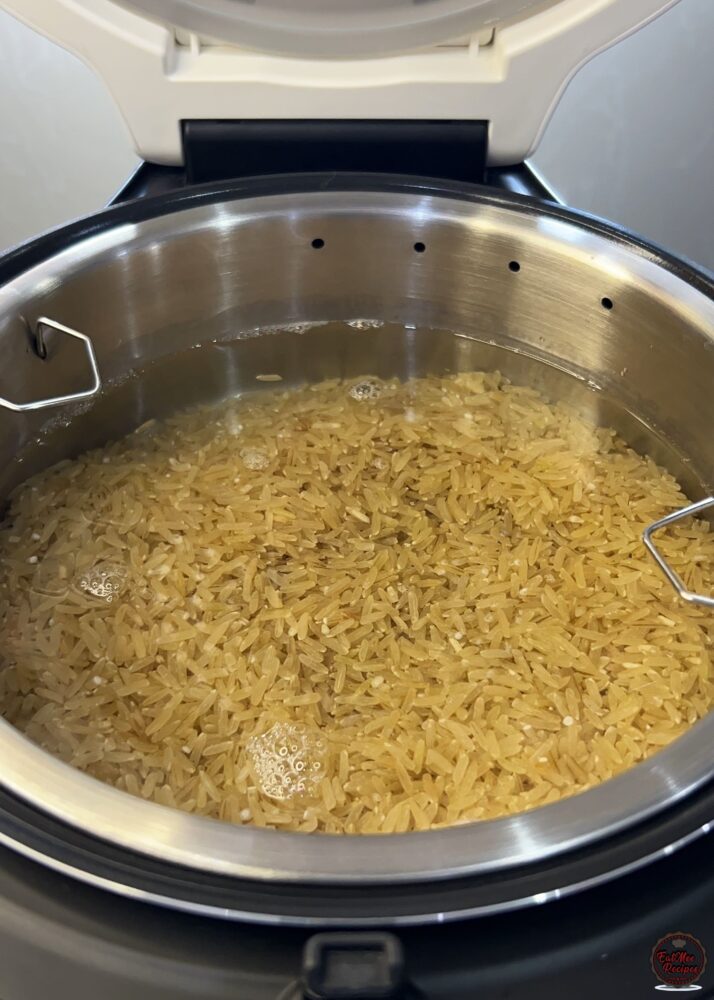
Pour in 6 cups of cold water, roughly 1.4 liters or 1400 milliliters.
Close the lid and press the menu select button twice.
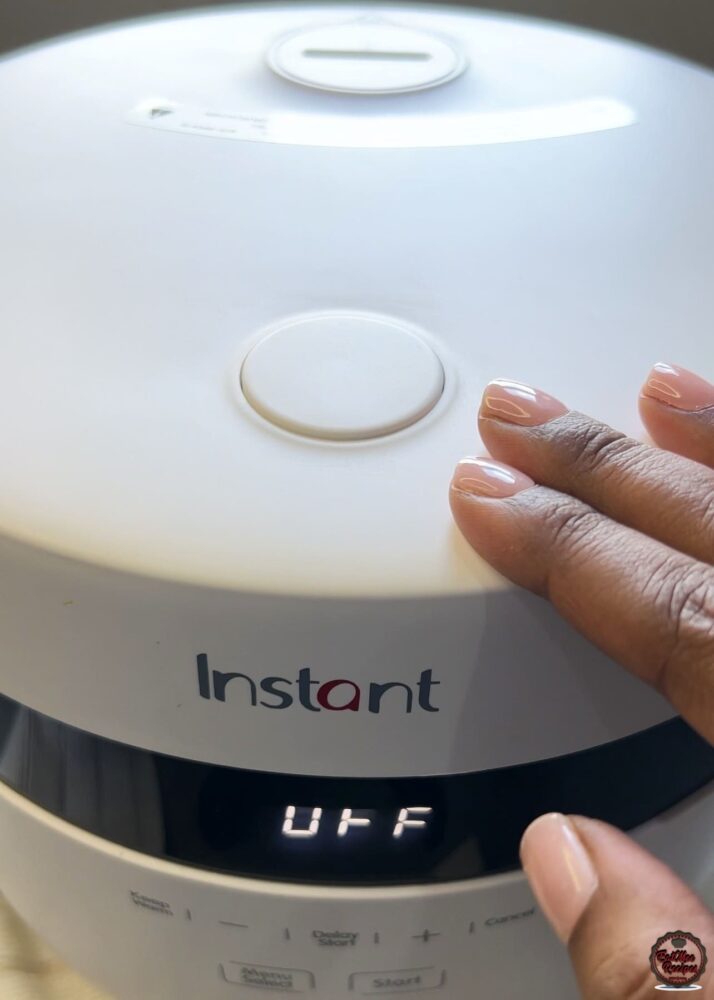
By pressing on it twice, it should select the Brown Rice program then press ‘Start’.
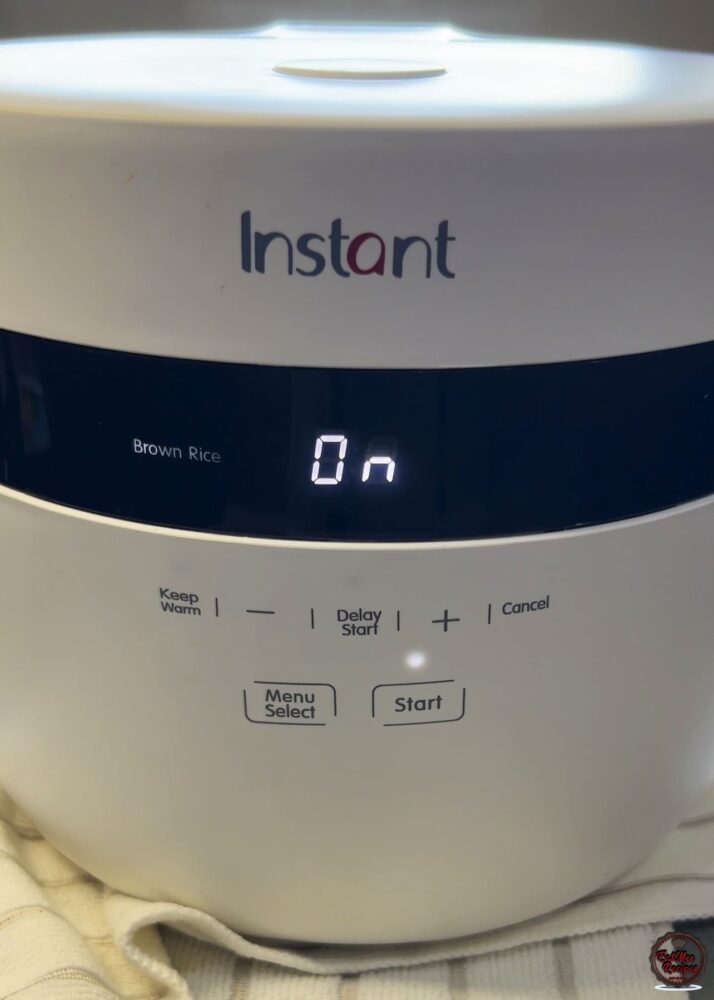
Unlike some cookers, this one doesn’t have a set timer because it adjusts and cooks the rice perfectly on its own. For me, it took about 67 minutes to cook, then the timer counted down the final ten minutes.
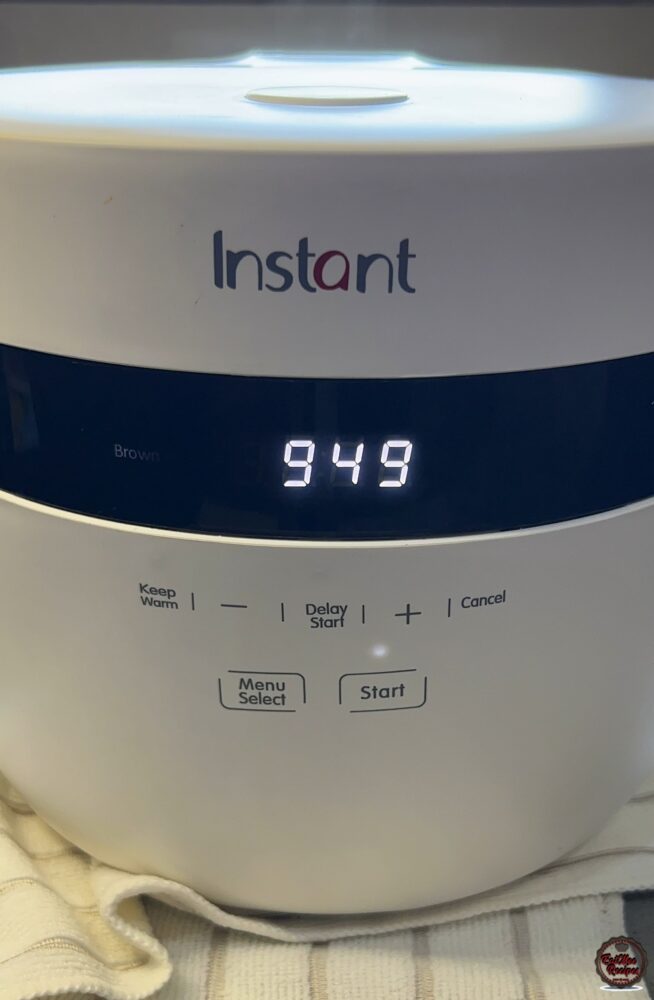
Your total cook time for this amount of long grain parboiled rice will be around 77 minutes (1 hour and 17 minutes).
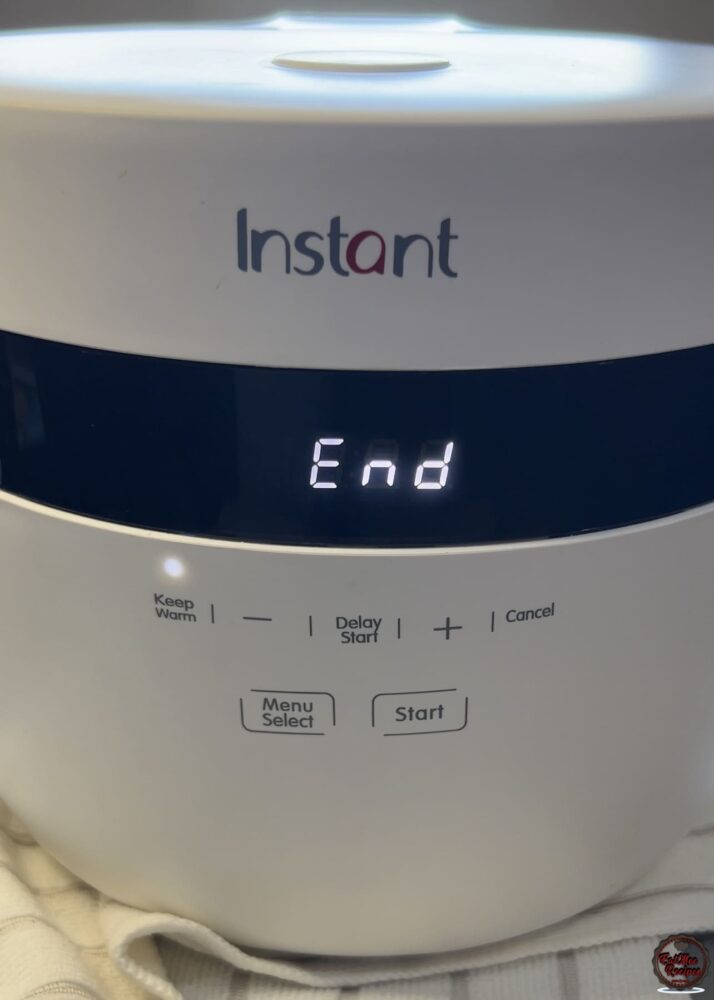
You don’t need to watch it at all. As soon as it’s done, it beeps and automatically keeps the rice warm.
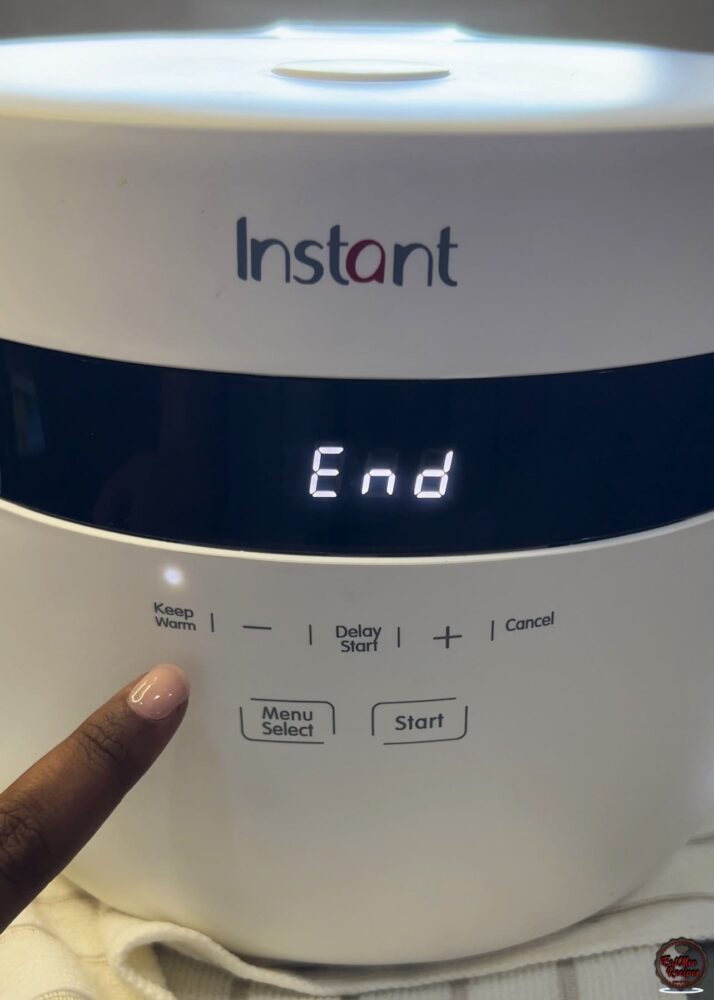
When the cooking cycle is complete, press to open the lid and enjoy perfectly fluffy rice with distinct, separate grains.
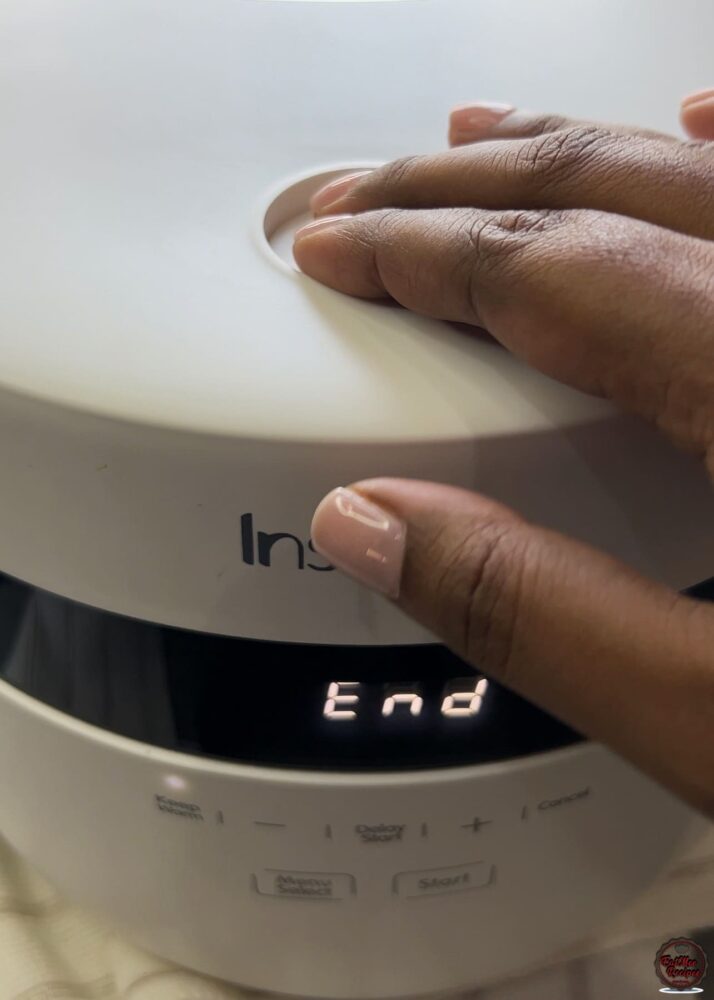
There’s no straining required since we cooked it with the strainer method.
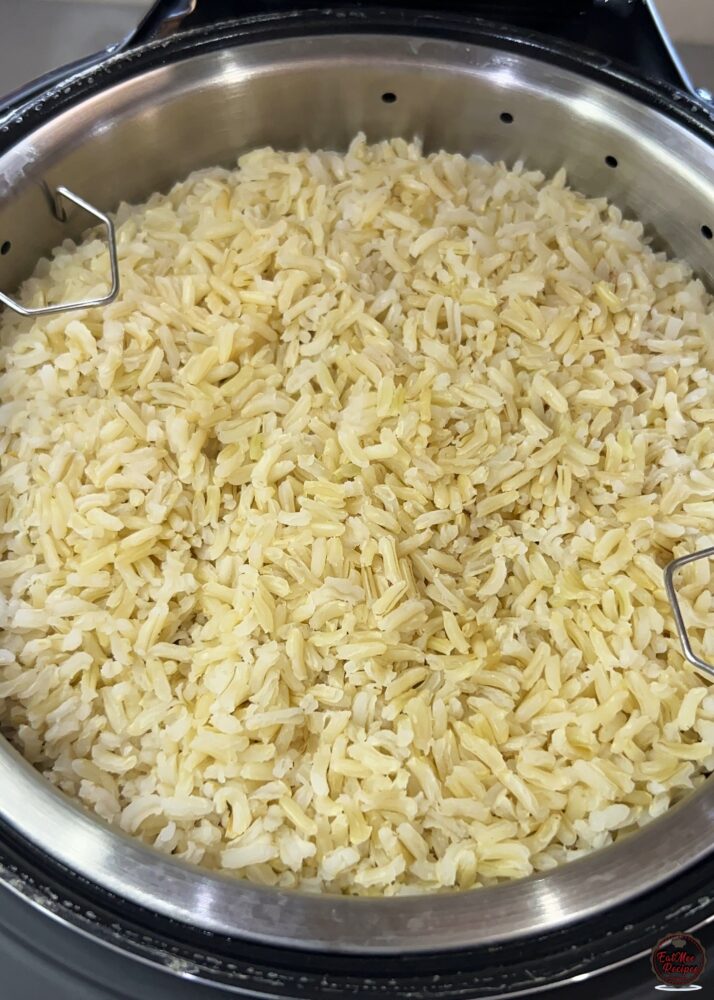
On keep warm, the rice is ready to serve straight from the cooker.
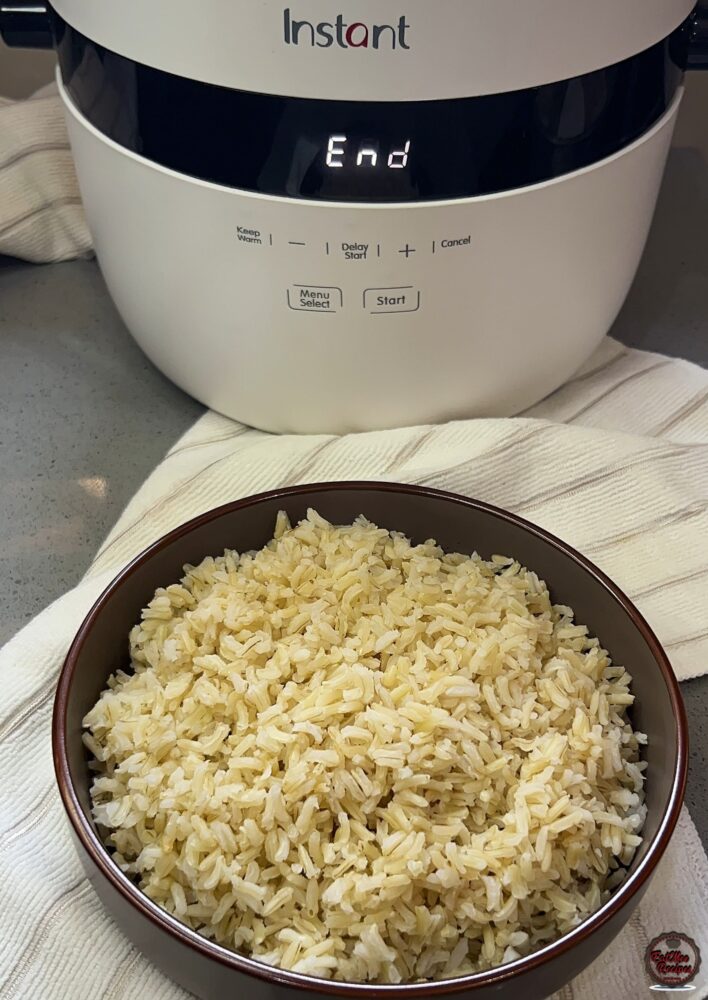
The rice is so fluffy with beautifully distinct grains, it’s tender on the inside with a light, nutty bite
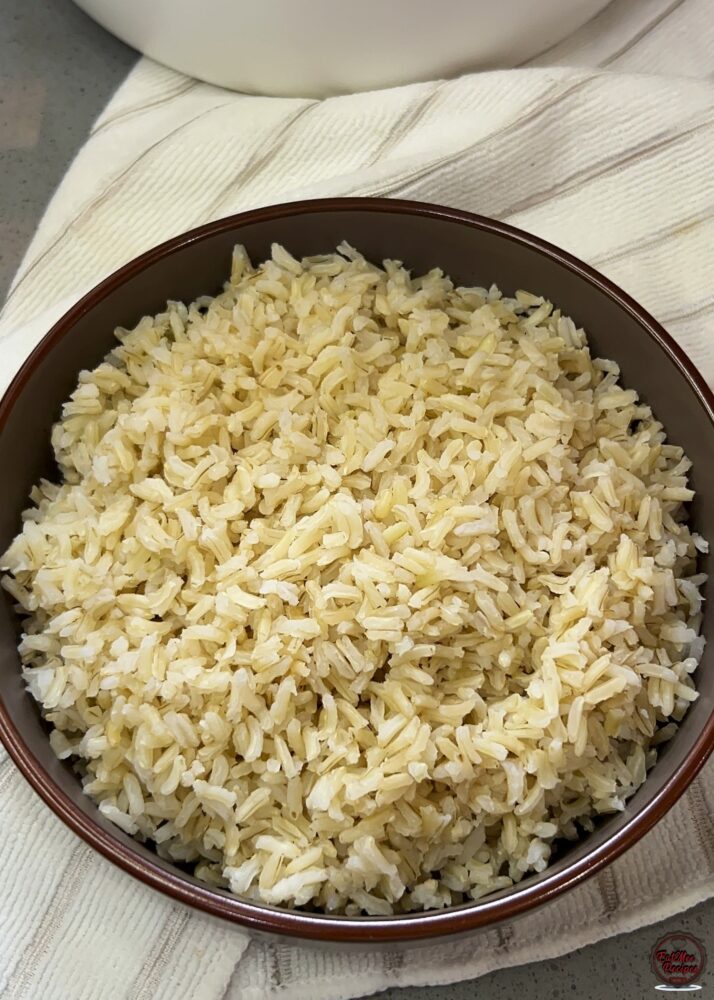
If you have leftovers or just need to store it for another time then allow the rice to cool slightly before transferring to an airtight container. Refrigerate for up to 4 days. To reheat, sprinkle with a little water and microwave covered, or steam gently until heated through
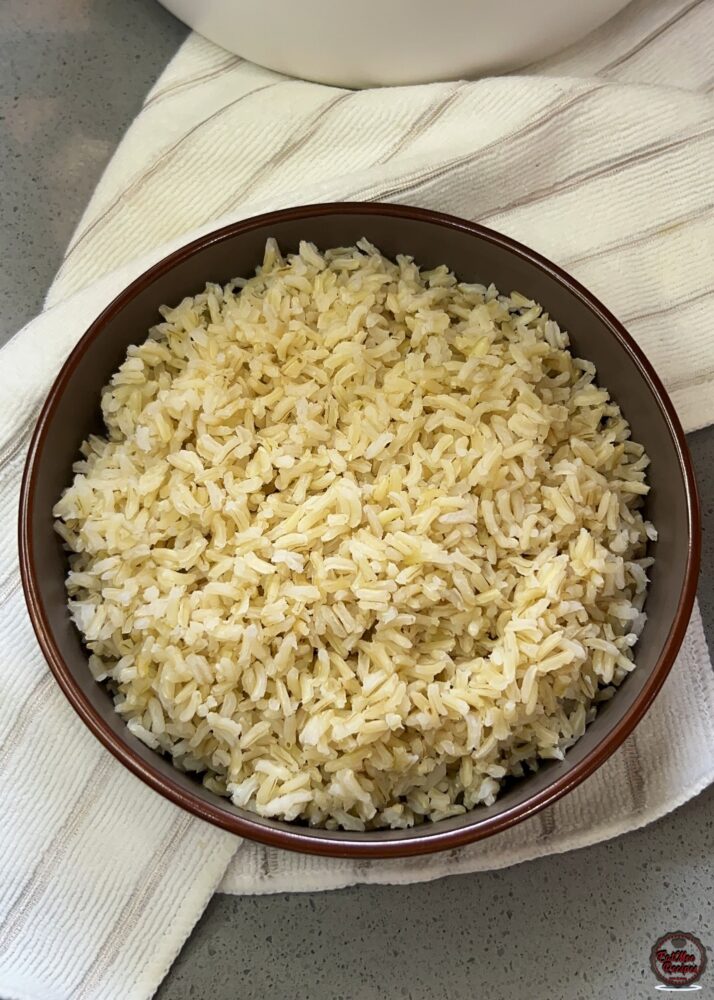
Fluffy, tender rice – no stress required. Try this method in your Instant Rice Cooker and enjoy perfect results every time. More flavourful ideas and variations are coming soon to EatMeeRecipes.co.za