
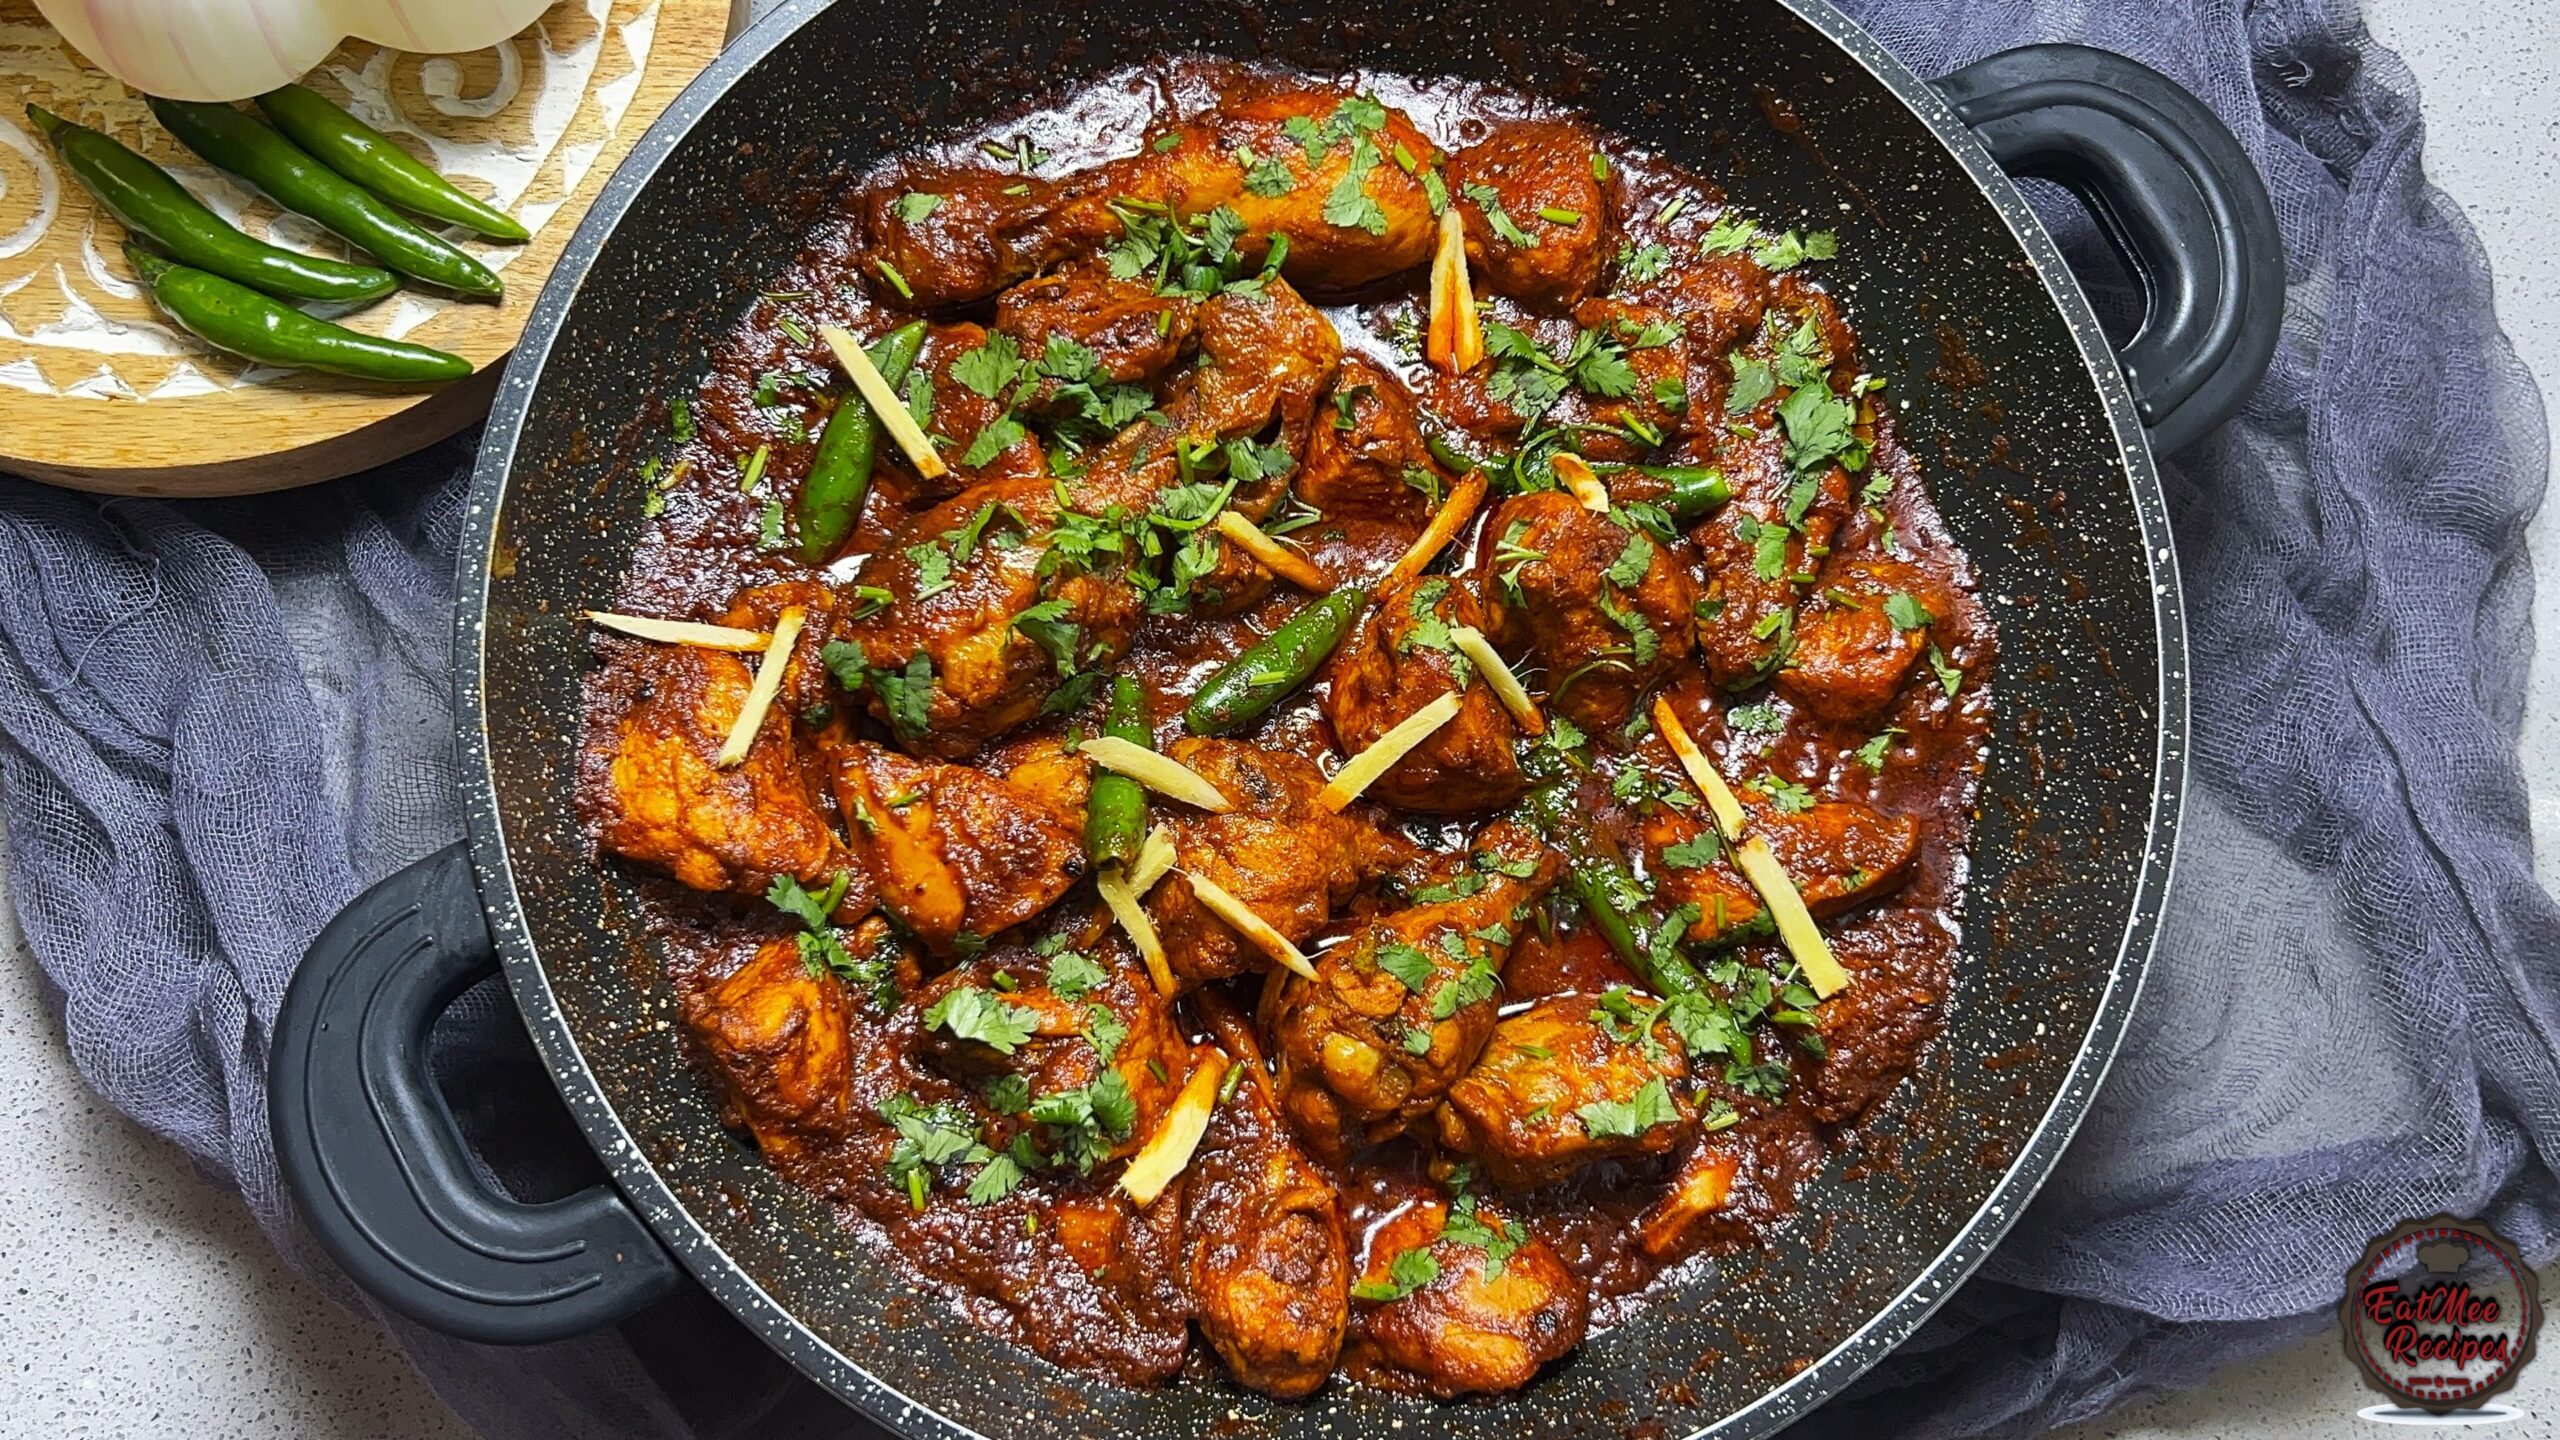
If you’re looking for a rich, spicy chicken curry that’s packed with bold flavour without being overloaded with tomatoes, then this Chicken Karahi is one you’ll make again and again. Traditionally cooked in a karahi (also spelled karai or kadai), this popular Pakistani and North Indian dish gets its name from the deep, rounded cooking pot it’s prepared in rather than the ingredients themselves.
Although I didn’t use a traditional karahi this time (mine isn’t induction-friendly), a regular pot works just as well and still gives you the same incredible flavour. I also use less tomatoes than traditional recipes, as I prefer a richer, more concentrated masala while still having plenty of delicious gravy to scoop up with paratha or naan.
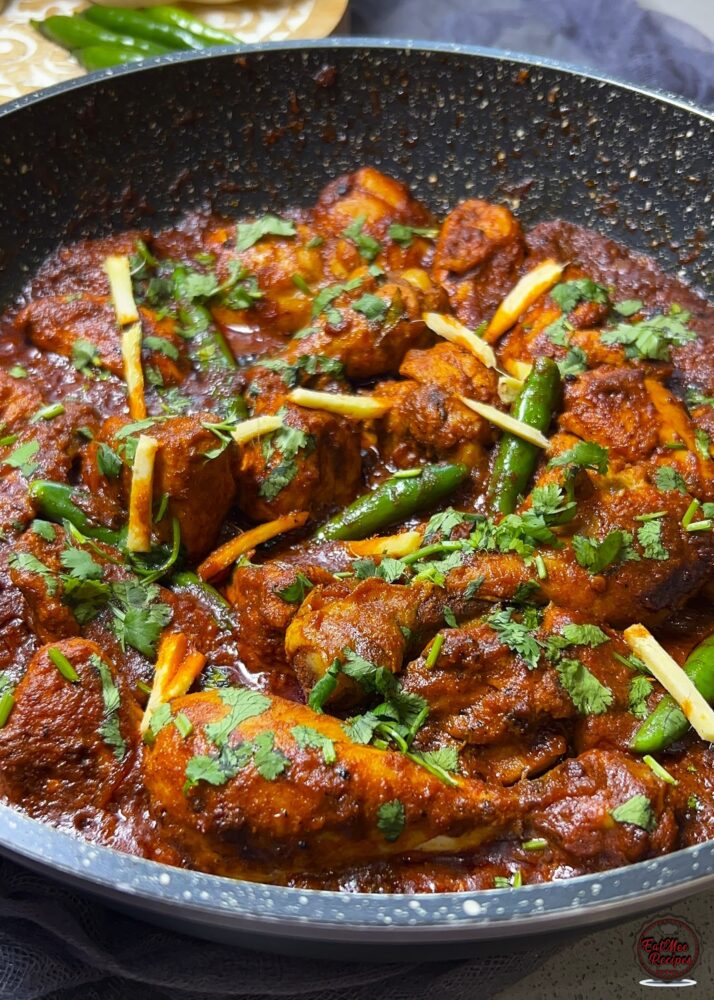
This recipe is made with everyday pantry spices, plenty of cracked black pepper, fresh green chillies, coriander and julienned ginger for that authentic finishing touch. It’s simple enough for a weeknight dinner but impressive enough to serve to guests.
Why Is It Called Chicken Karahi?
Chicken Karahi gets its name from the karahi, a thick, circular cooking pot traditionally used throughout Pakistan and parts of North India. Over the years, the name of the cookware became the name of the dish itself.
One of the defining features of Chicken Karahi is its rich masala, made with onions, tomatoes, yoghurt and aromatic spices. Unlike many curries, it isn’t heavily diluted with water. Instead, the gravy develops from the tomatoes, yoghurt and the natural juices released by the chicken as it cooks, resulting in a beautifully rich and concentrated gravy
Why I Use Less Tomatoes
Many traditional Chicken Karahi recipes use a larger quantity of tomatoes. I personally prefer using fewer tomatoes as it creates a deeper, richer masala without the curry becoming overly tangy. You still end up with plenty of delicious gravy thanks to the onions, yoghurt and the juices released from the chicken during cooking.
.
Step-by-Step Instructions
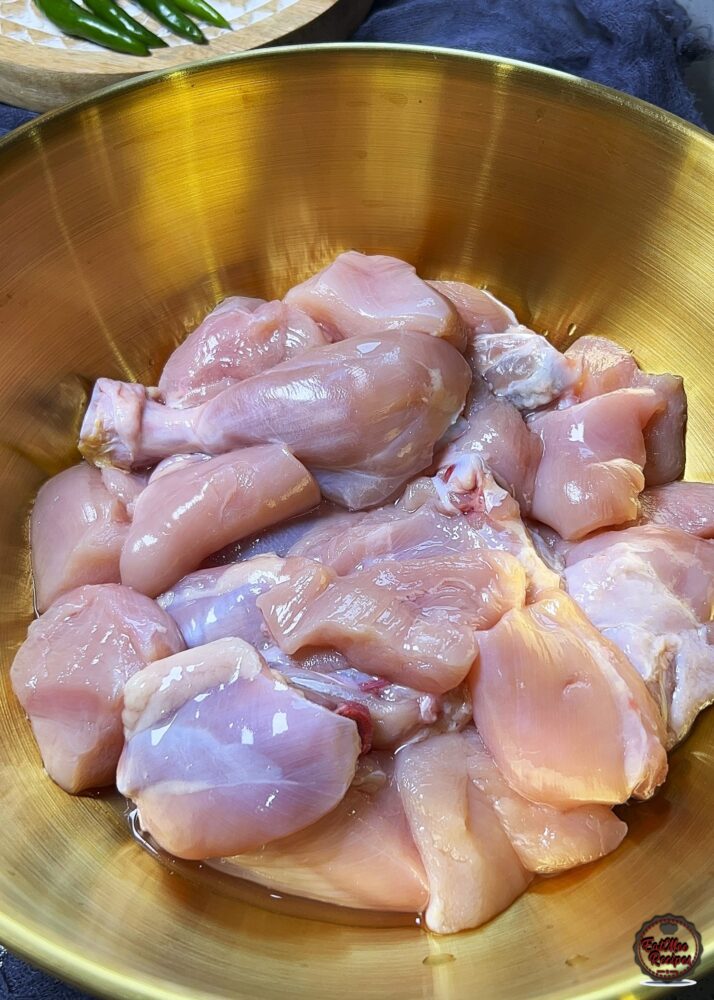
Start by cutting the whole chicken into serving pieces and remove the skin. Washing the chicken is optional according to personal preference (I wash mine). Set aside while you prepare the remaining ingredients.
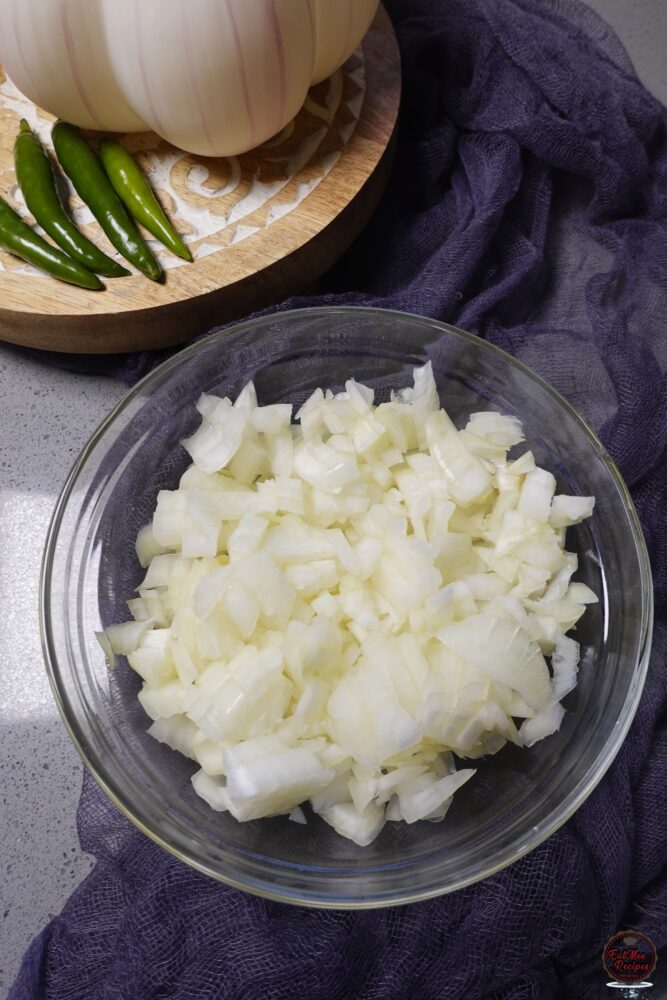
Finely chop the onions. Keeping them evenly sized helps them cook at the same rate and creates a smooth base for the masala.
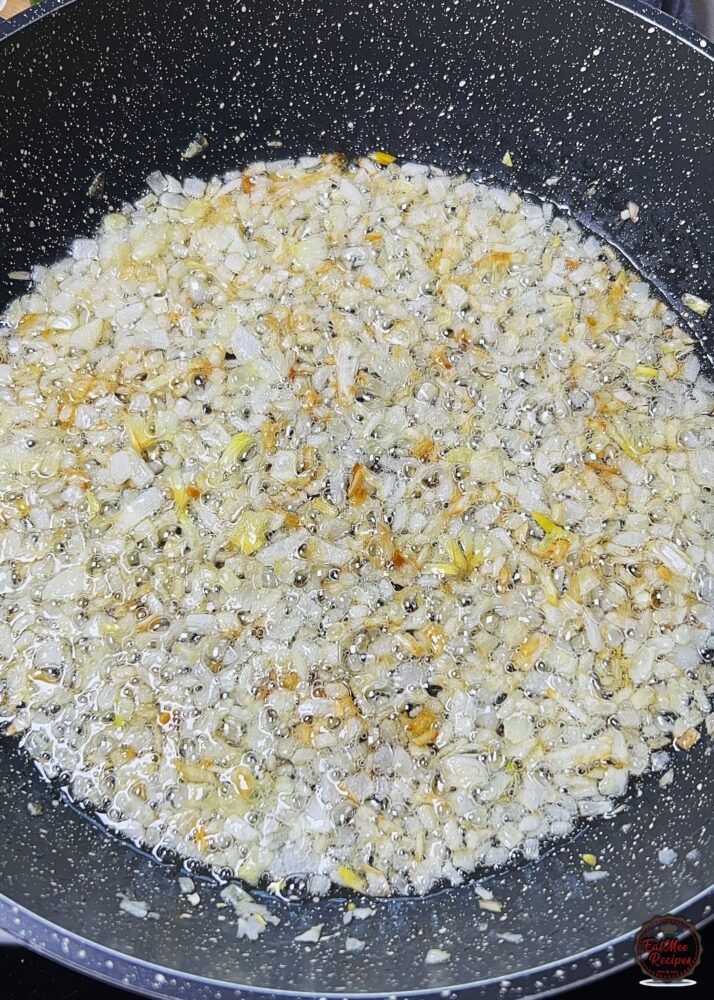
Heat the oil in a large pot or karahi (mine was not induction friendly so I used a regular pot) over medium-high heat and add in the chopped onions.
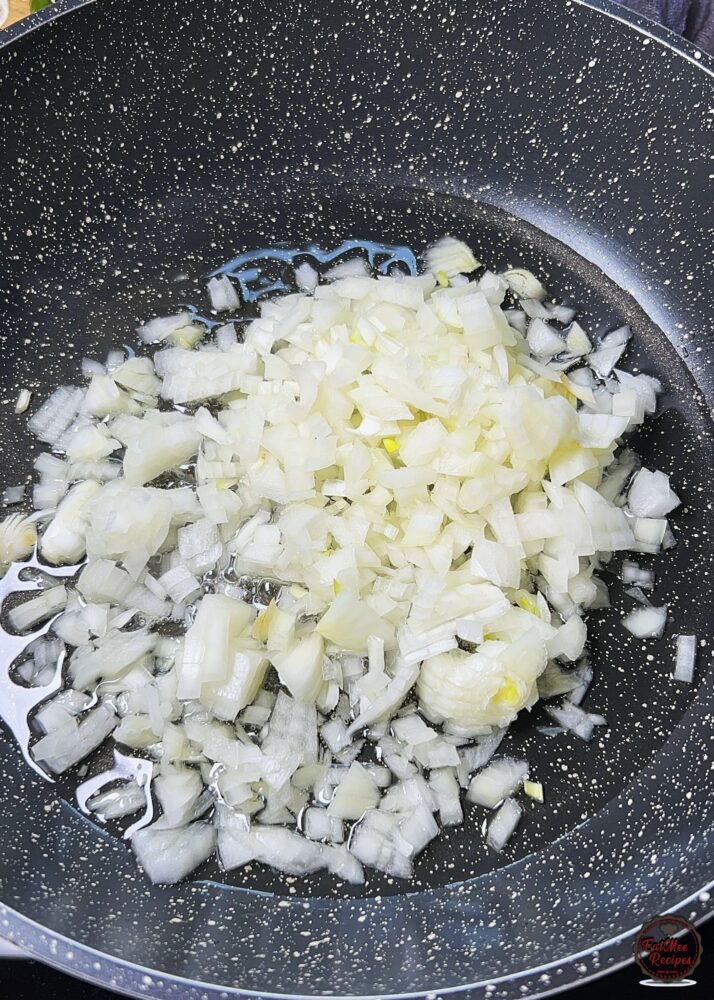
Mix and sauté until they become soft and lightly browned. They don’t need to become dark brown, just enough colour to develop flavour.
Add the spices: chilli flakes, turmeric powder, cumin (jeera) powder, coriander (dhania) powder, cracked black pepper, chilli powder and ginger & garlic paste.
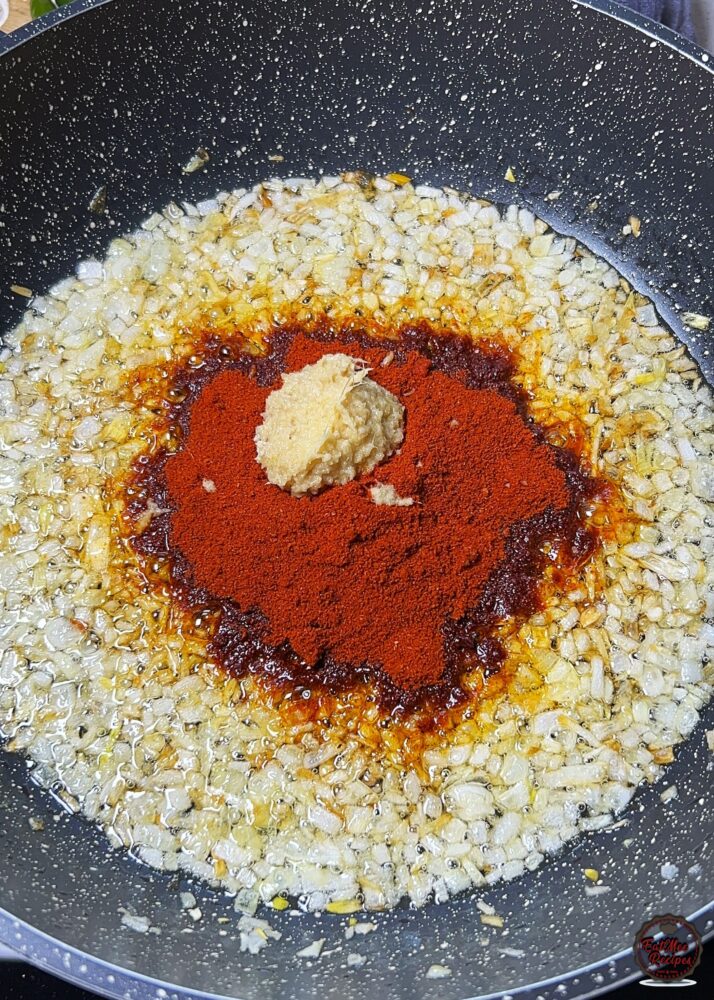
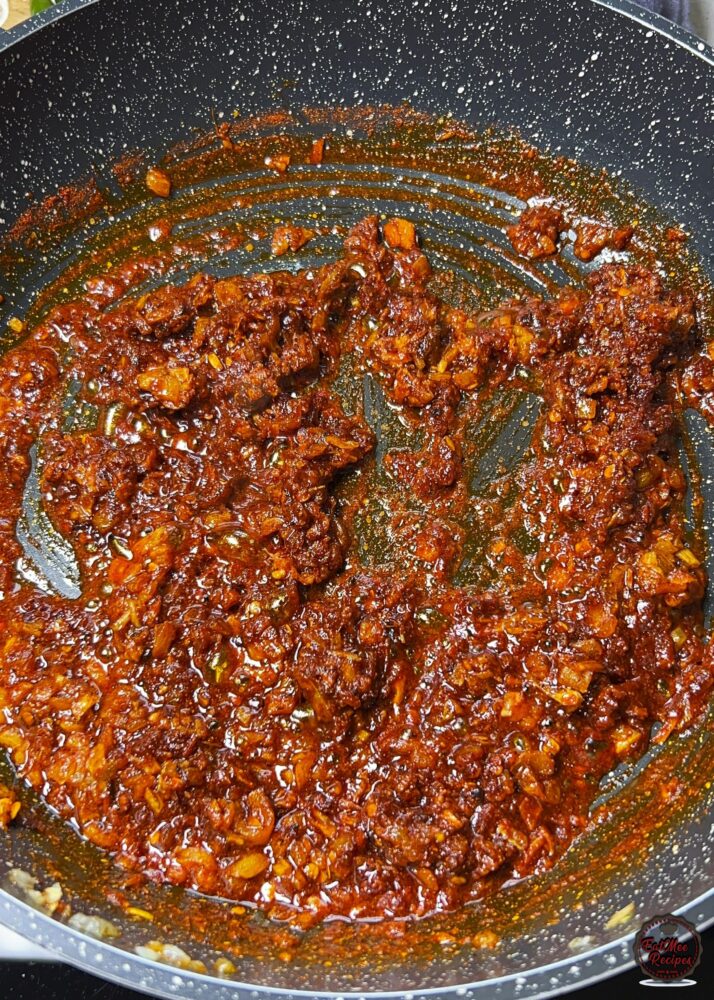
Mix and sauté for about 30 seconds, stirring continuously so they don’t burn.
Add the chicken pieces, curry leaves and salt to taste.
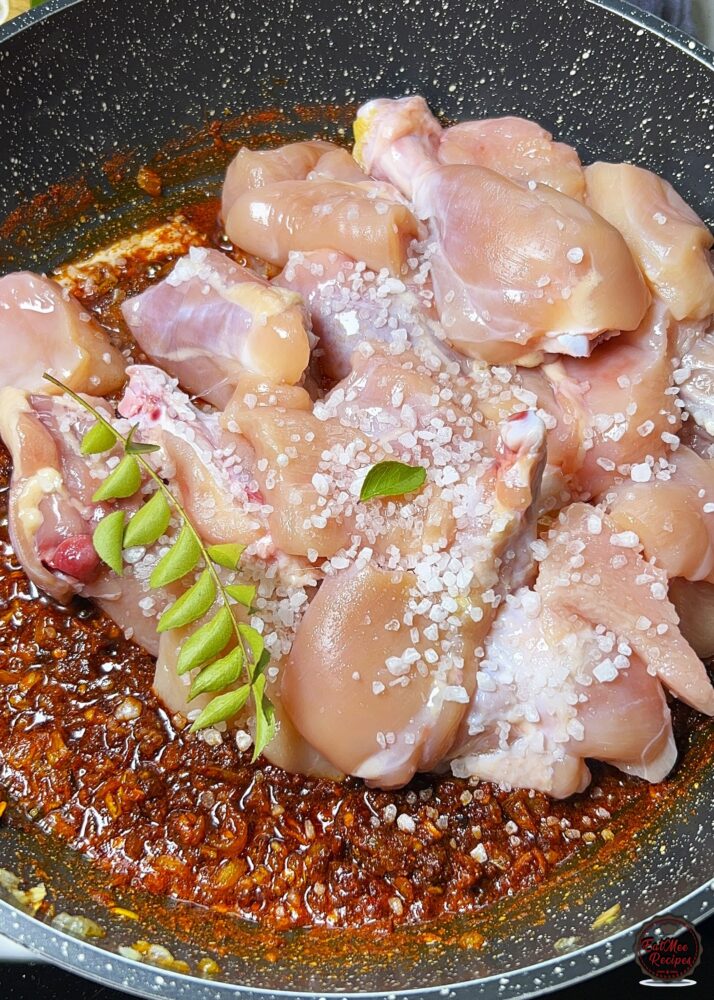
Mix well so every piece of chicken is evenly coated in the spices.

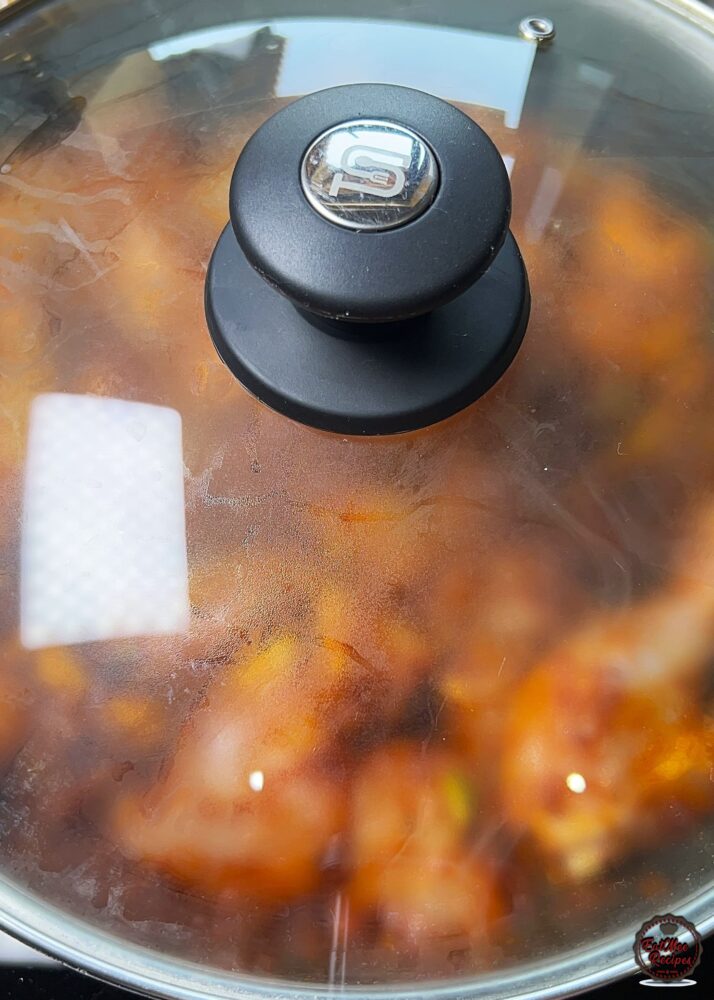
Cover and cook for about 5 minutes, stirring occasionally, allowing the chicken to lightly brown and absorb all the flavours.
Pour in the blended tomatoes and mix well.
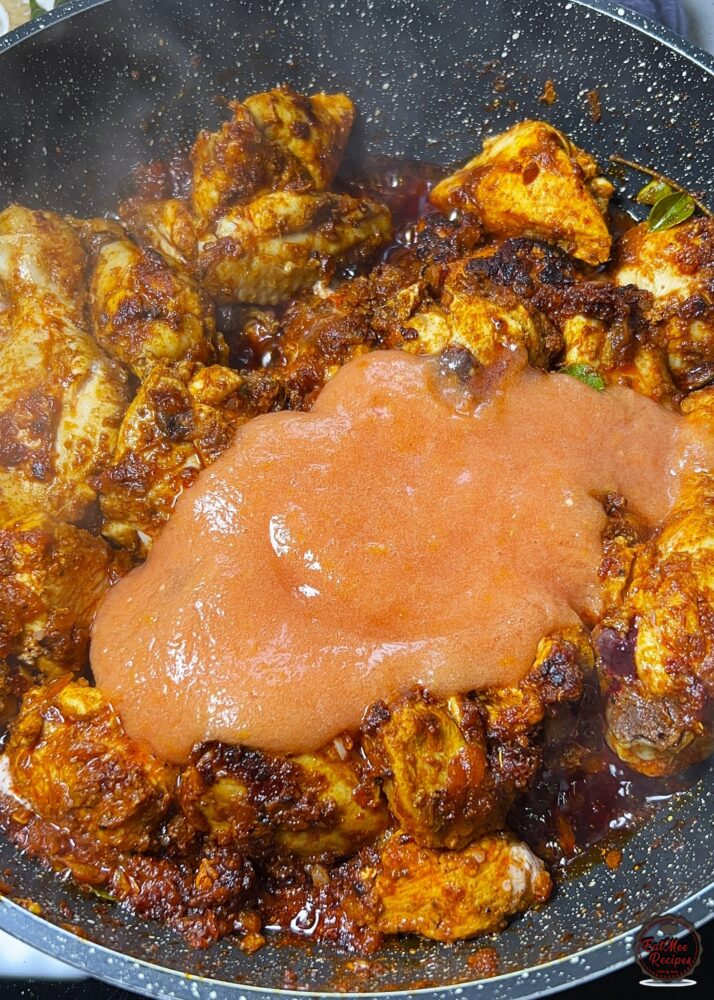
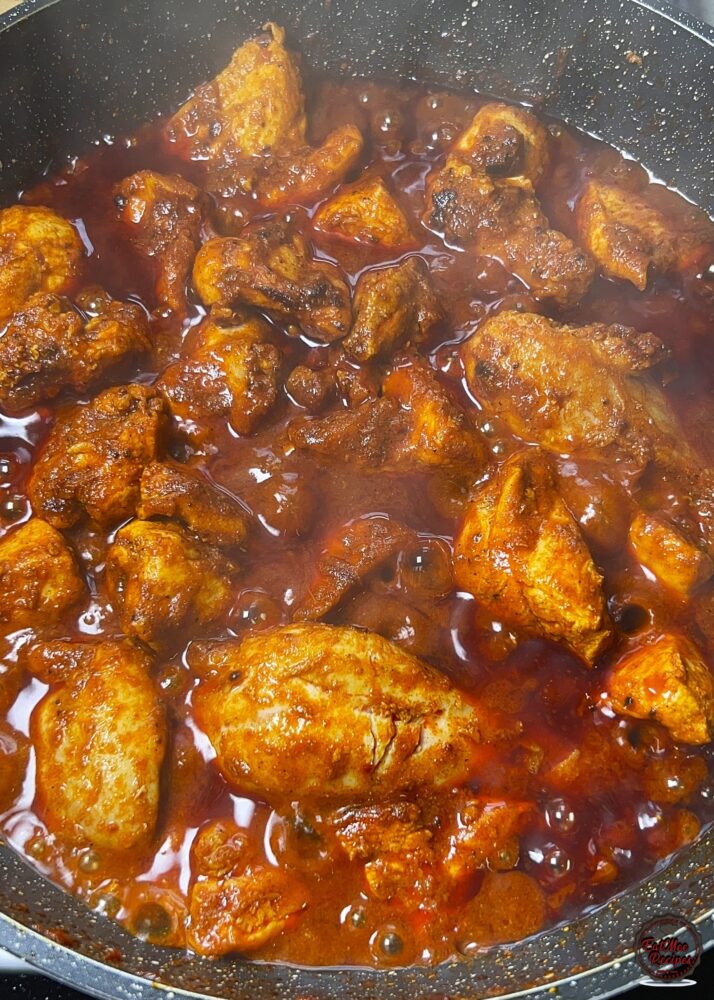
Cook for approximately 10 minutes, stirring every few minutes until the tomatoes cook down and the masala thickens.
Add the plain yoghurt and stir until fully incorporated.
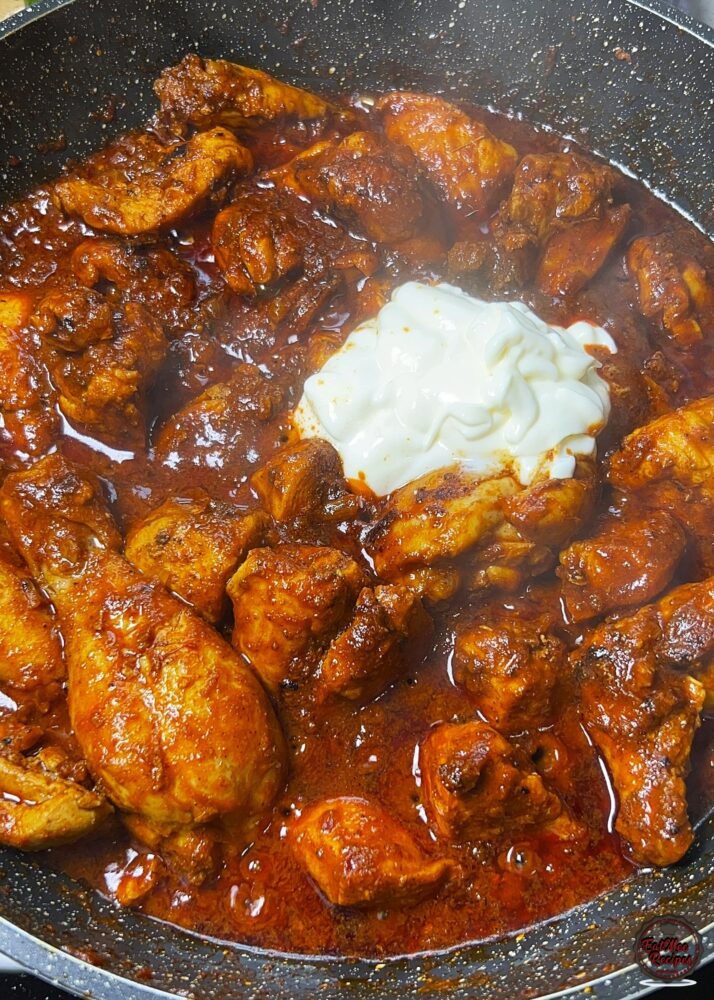
For reference, I used Double Cream but Full Fat will work too.

Cook for another 2-3 minutes until the yoghurt blends into the gravy and becomes rich and glossy.
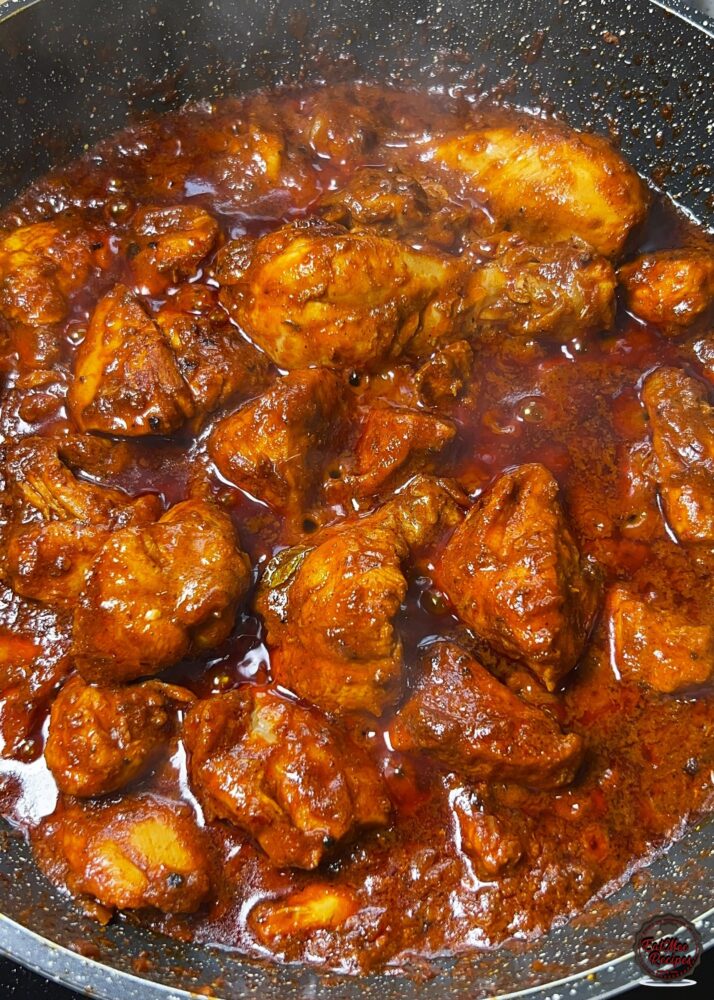
Add the whole green chillies and gently stir them through the curry so they’re coated in the masala without breaking them apart.
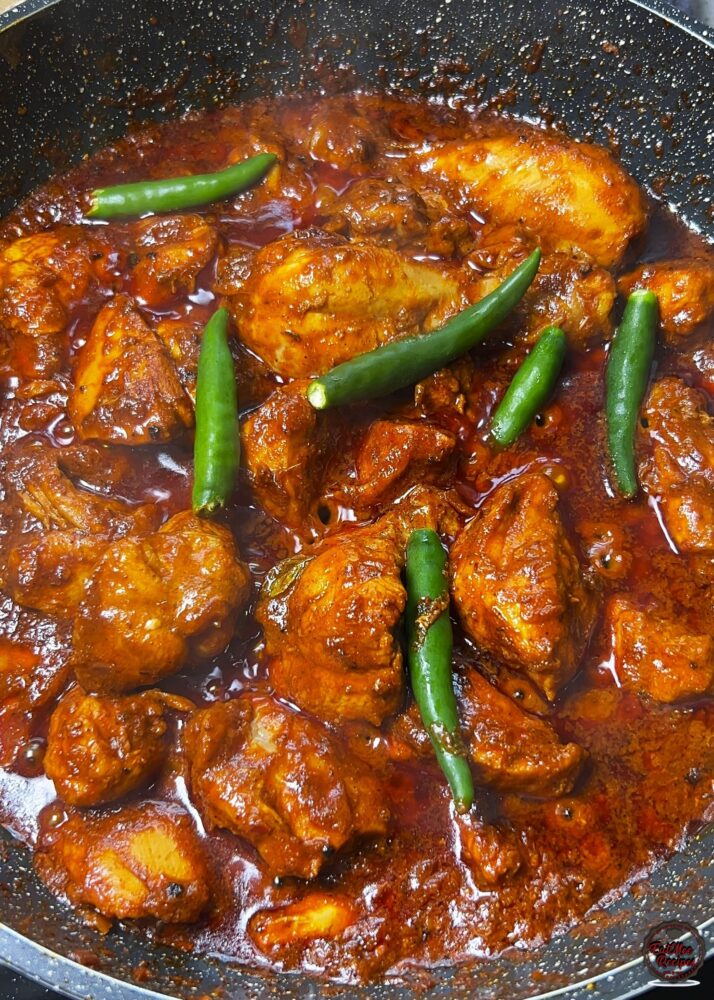
Finish with freshly chopped coriander and julienned ginger.
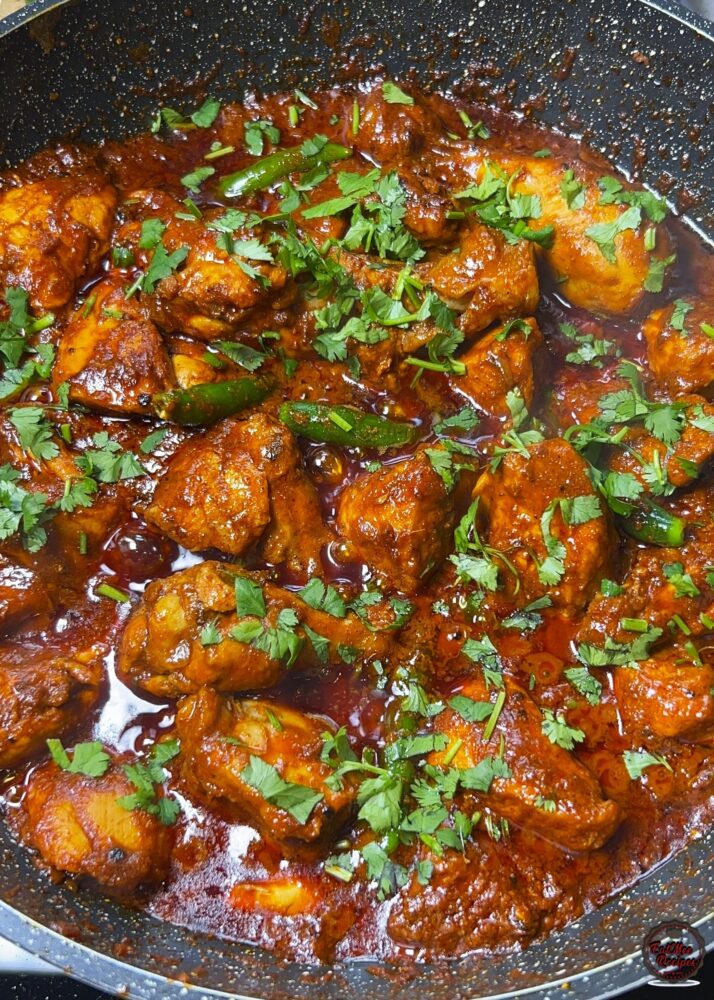
Serve immediately with paratha, naan, roti or steamed rice.
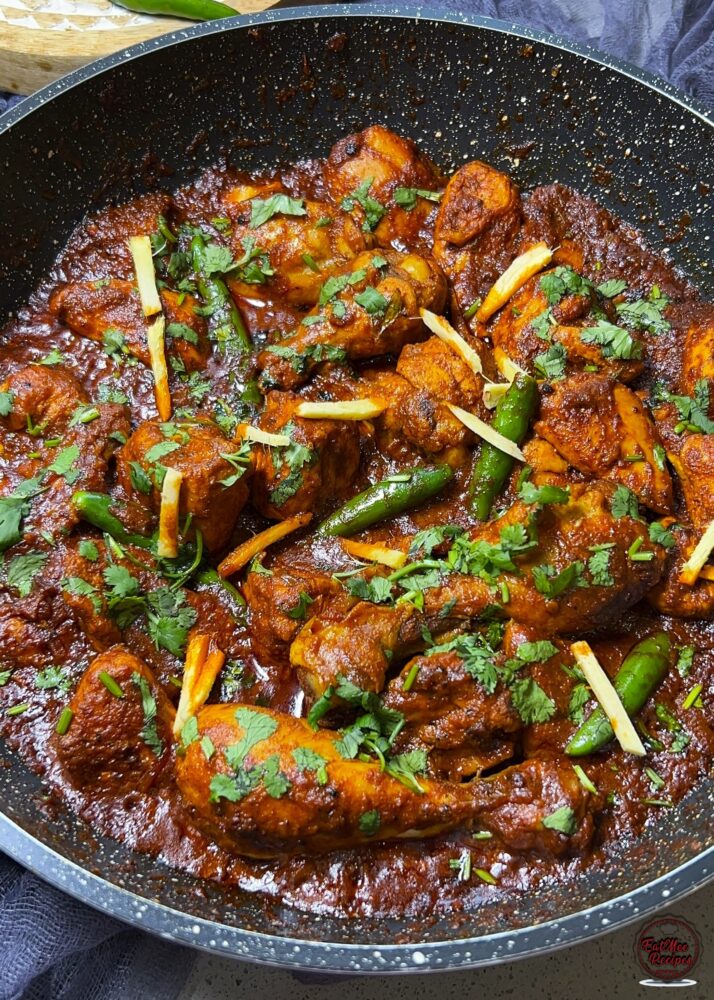
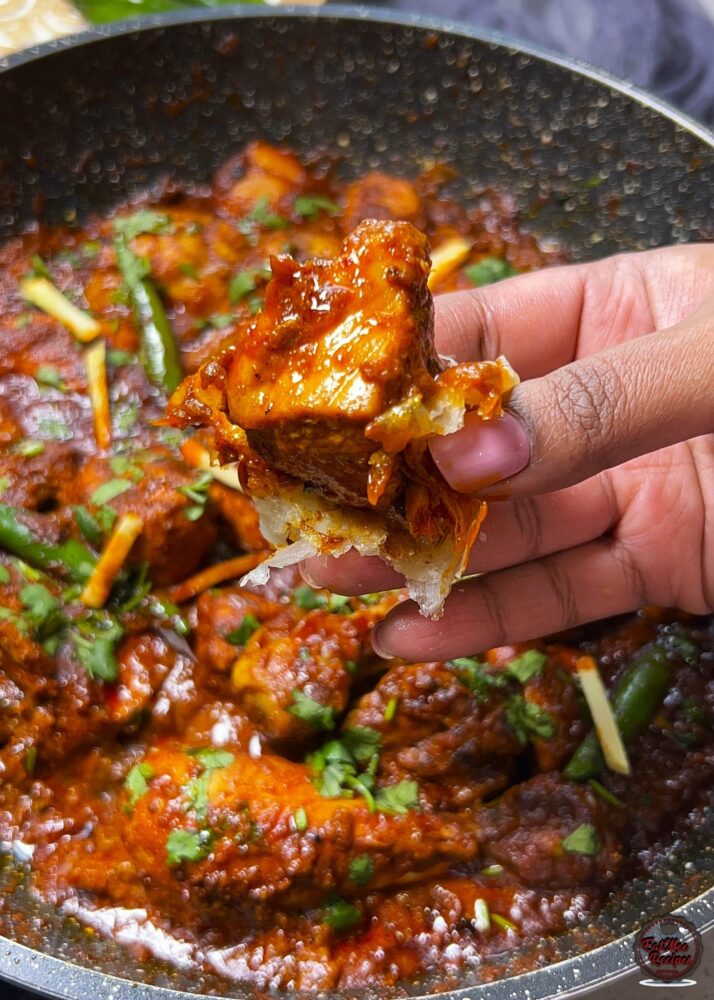
I served this dish with fresh hot parathas, and it was the perfect pairing. The soft, flaky layers soak up the rich masala beautifully, making every bite incredibly satisfying.
For leftovers, allow the Chicken Karai to cool completely before refrigerating.
Store in an airtight container in the fridge for up to 4 days. Freeze for up to 3 months. Defrost overnight in the refrigerator before reheating. Reheat gently on the stovetop or in the microwave until piping hot throughout. If the gravy has thickened too much, simply add a splash of water while reheating.