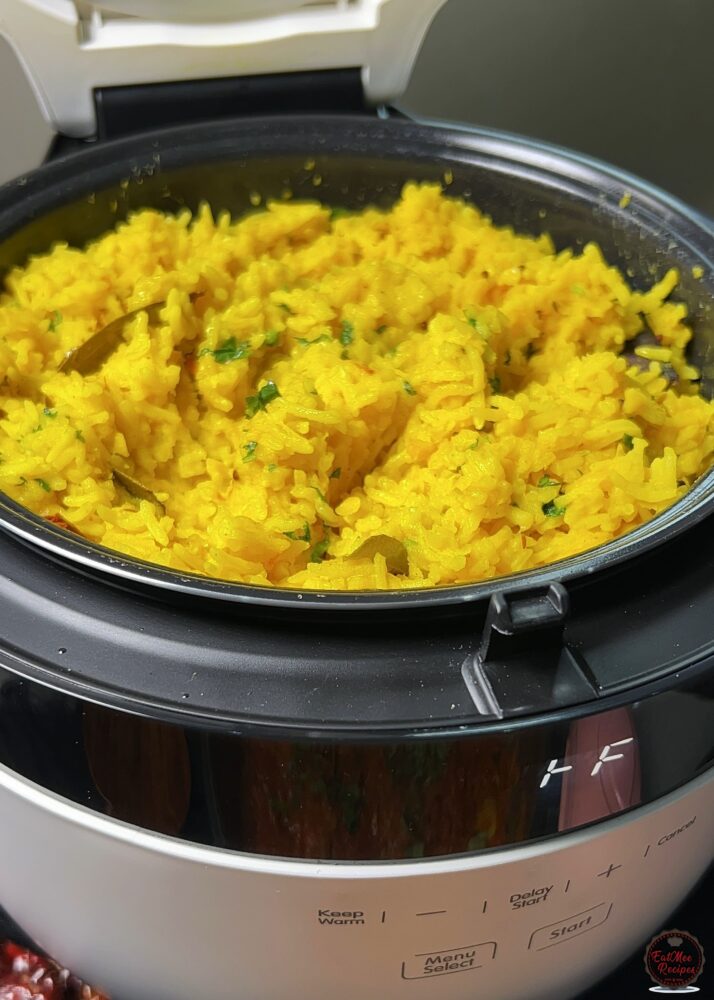
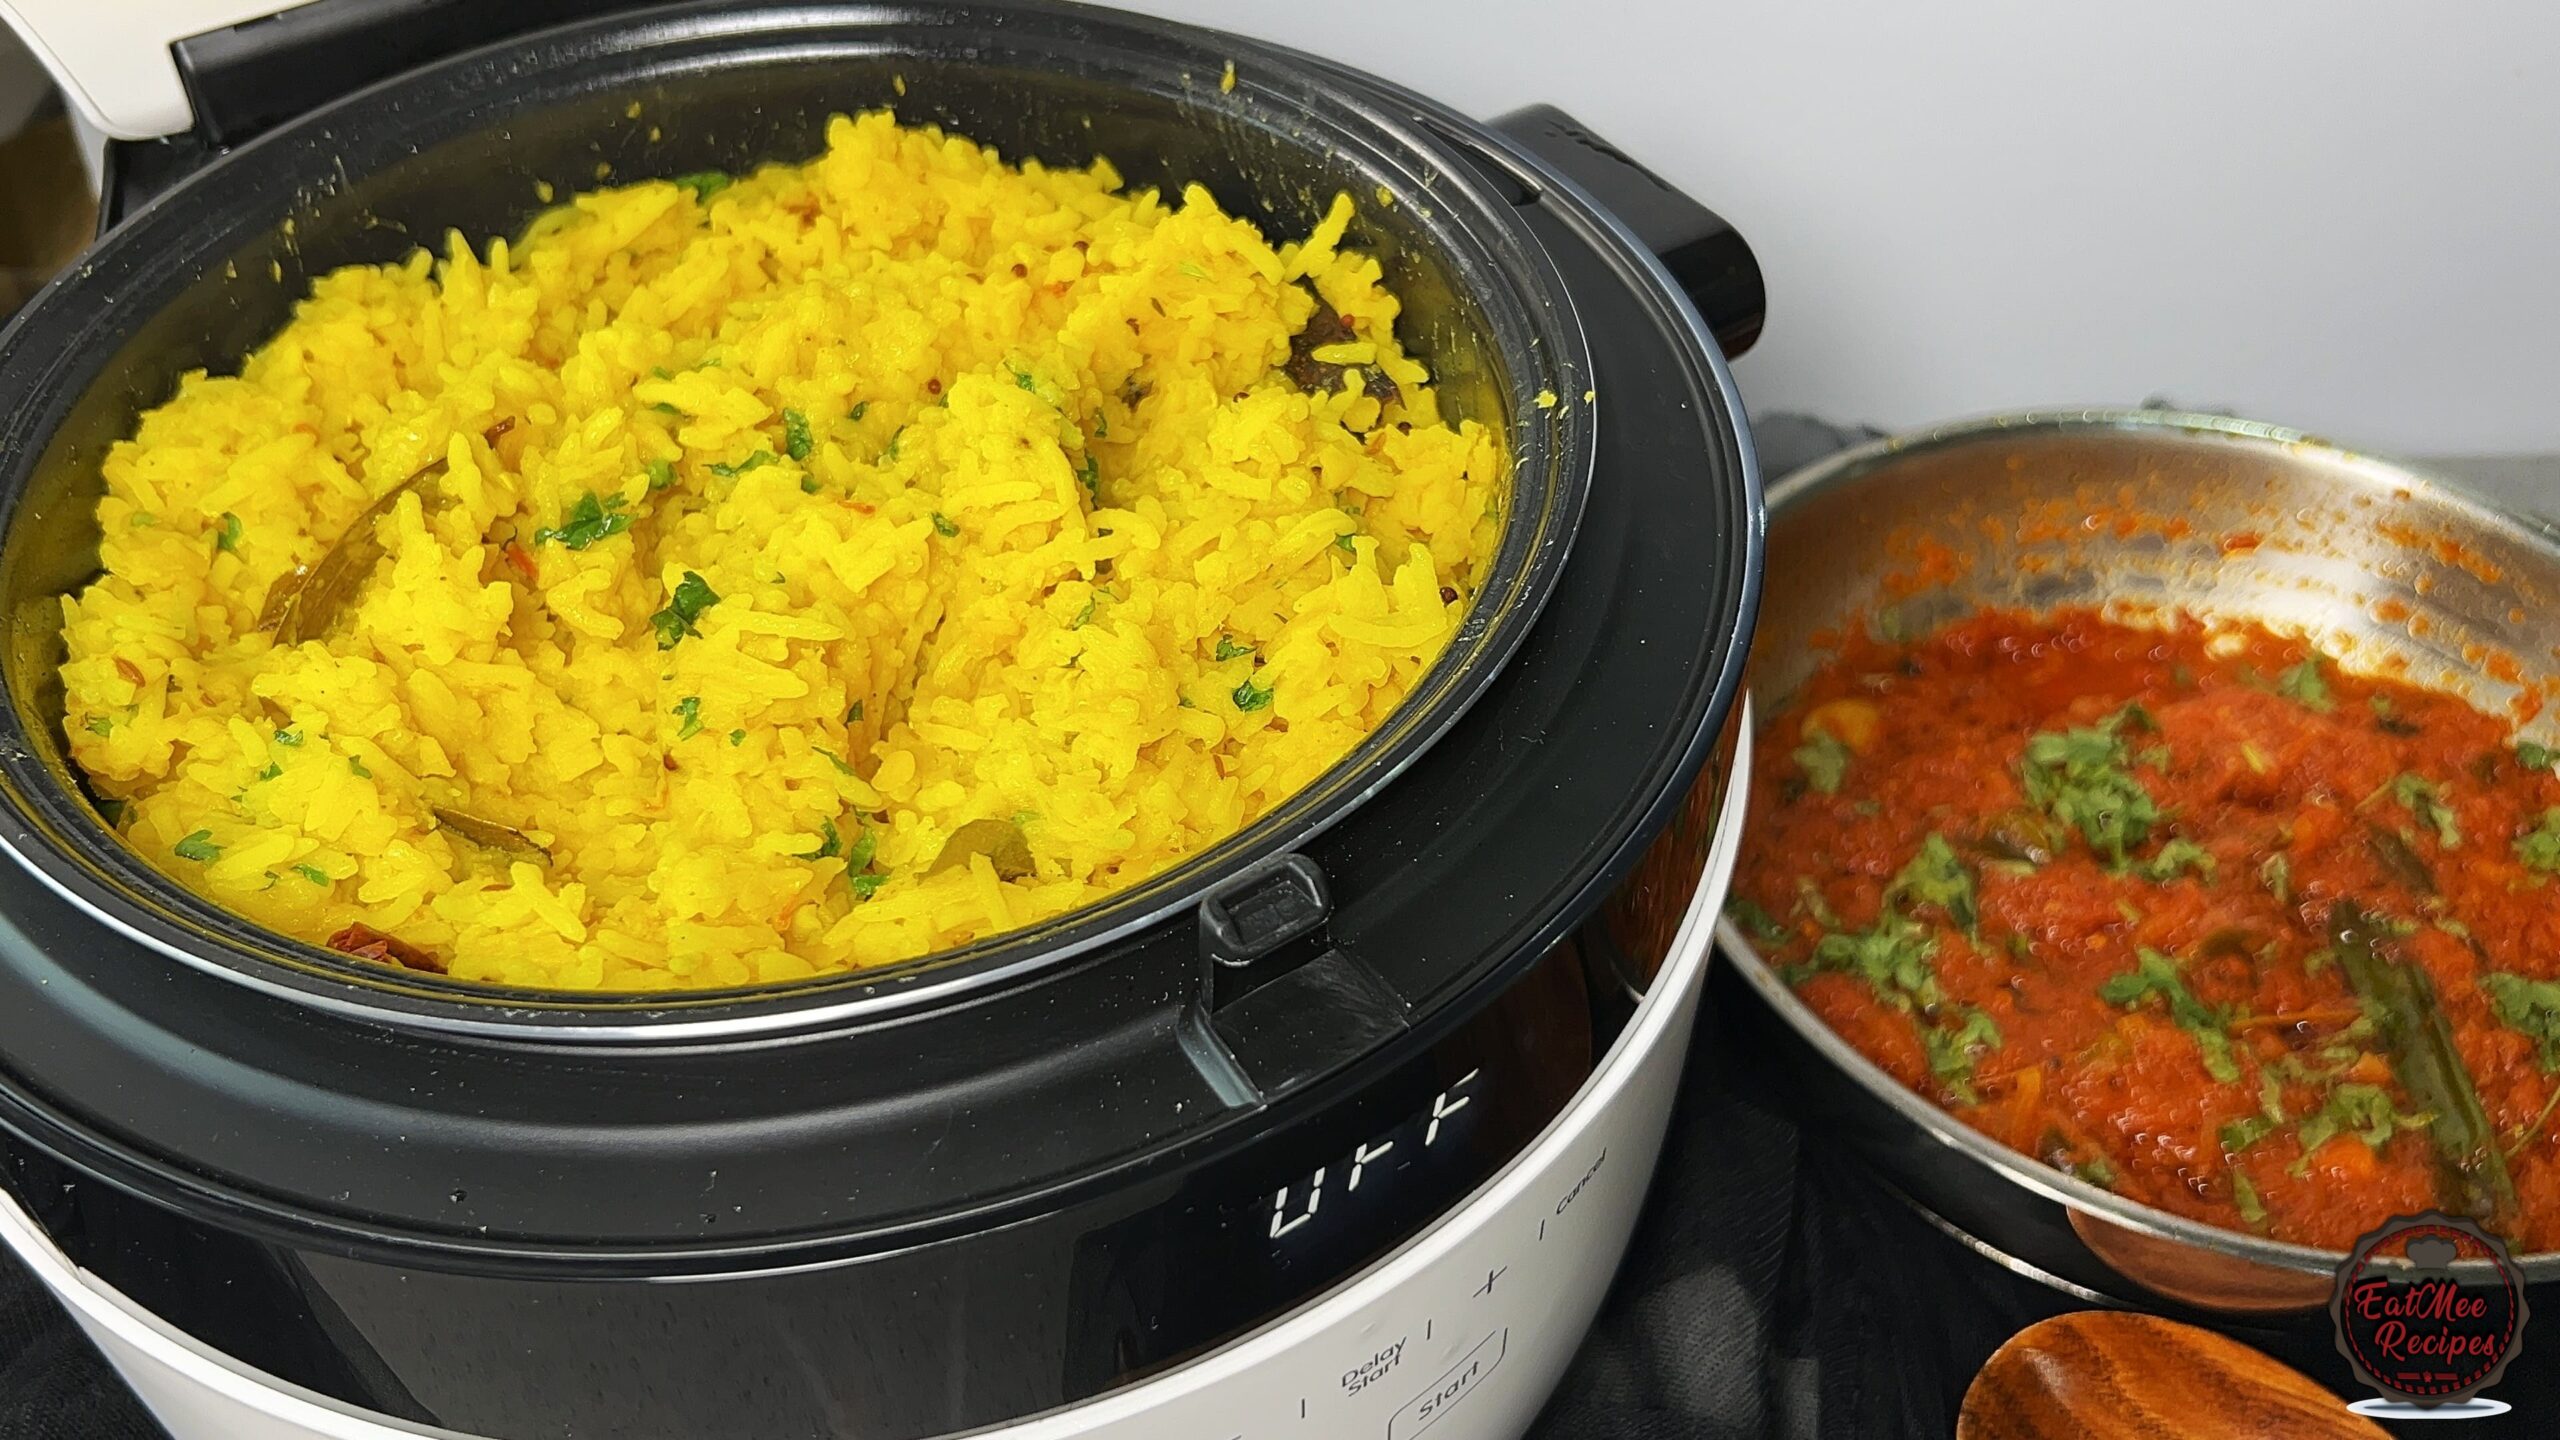
There is something deeply soothing about a bowl of kitchari. Soft, nourishing and gently spiced, this dish has long been a staple in many homes. It is simple, wholesome and incredibly satisfying.
Making kitchari in an instant rice cooker is not only convenient, but also one of the easiest ways to achieve a perfectly soft and creamy texture. With functions like sauté and white rice, the cooker allows you to build flavour first, then gently cook the rice and lentils to perfection without constant monitoring.
I first shared my version of kitchari years ago, and it has remained a favourite ever since. This time, I decided to prepare it in an instant rice cooker, simplifying the process while still keeping that rich flavour and signature soft consistency.
This method yields a beautifully soft and creamy kitchari, where the basmati rice and lentils cook down together to create a comforting, almost melt-in-the-mouth consistency.
What is Kitchari?
Kitchari is a simple and comforting dish of rice and lentils, slow cooked with gentle spices to create a soft, wholesome and satisfying meal. It originates from Indian cuisine, but it’s also widely enjoyed in South African Indian cooking, where it has its own unique flavour profile and variations.
Step-by-Step Instructions
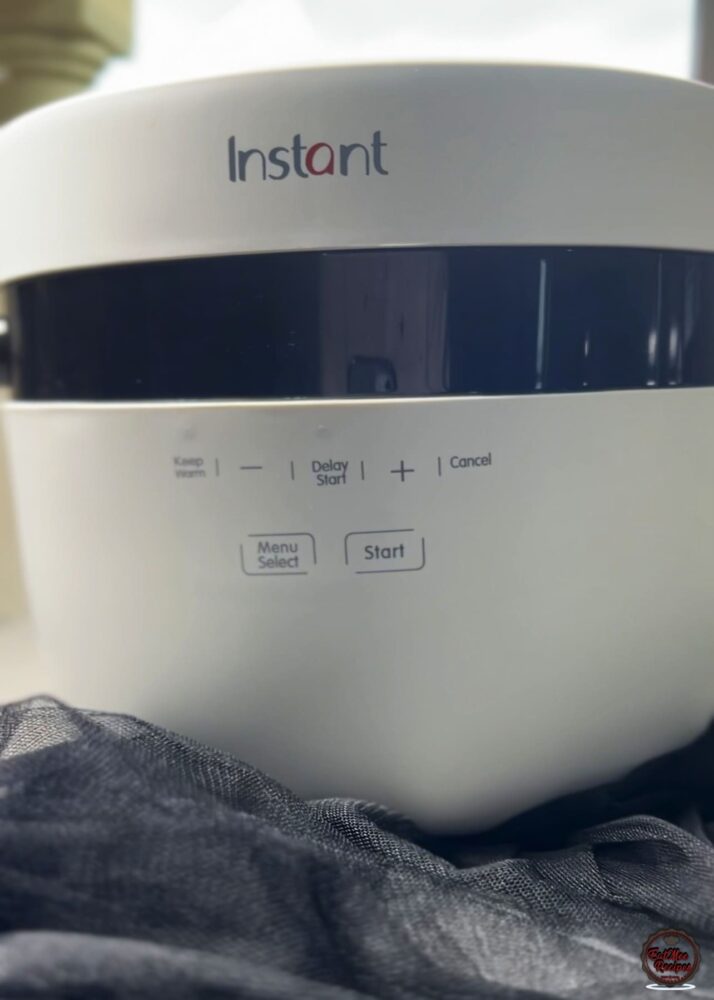
I used the Instant Pot Rice Cooker & Steamer (12-cup/2.8 L) for this recipe, which makes preparing this kitchari simple and completely foolproof.
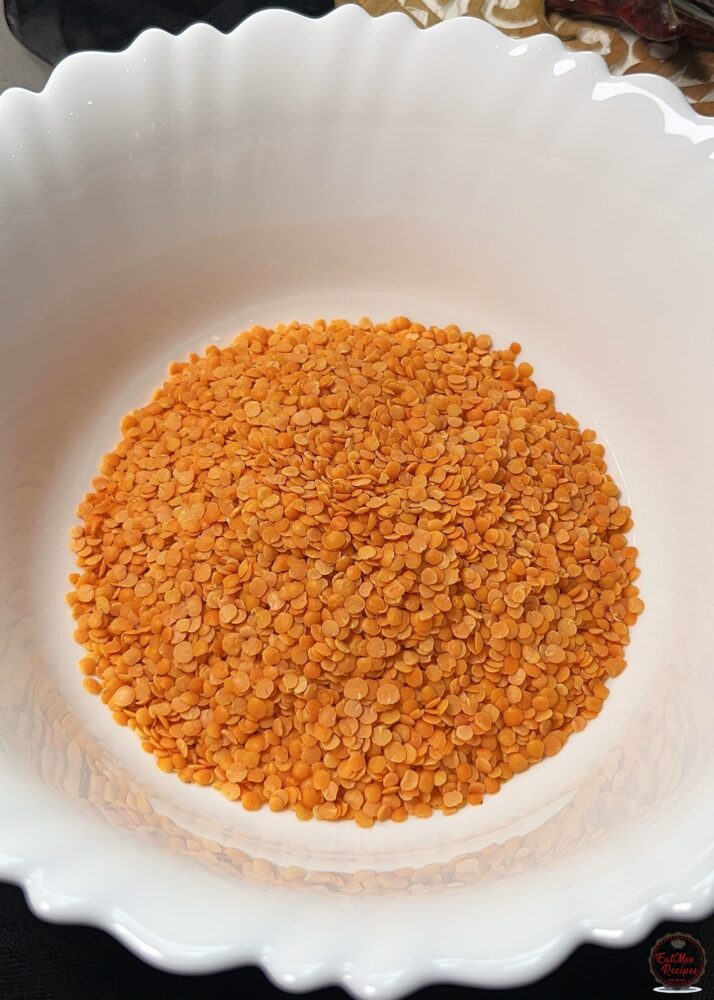
I chose to use red split lentils for this recipe as they cook much faster than pea dhall, while still giving you the same soft and comforting result.
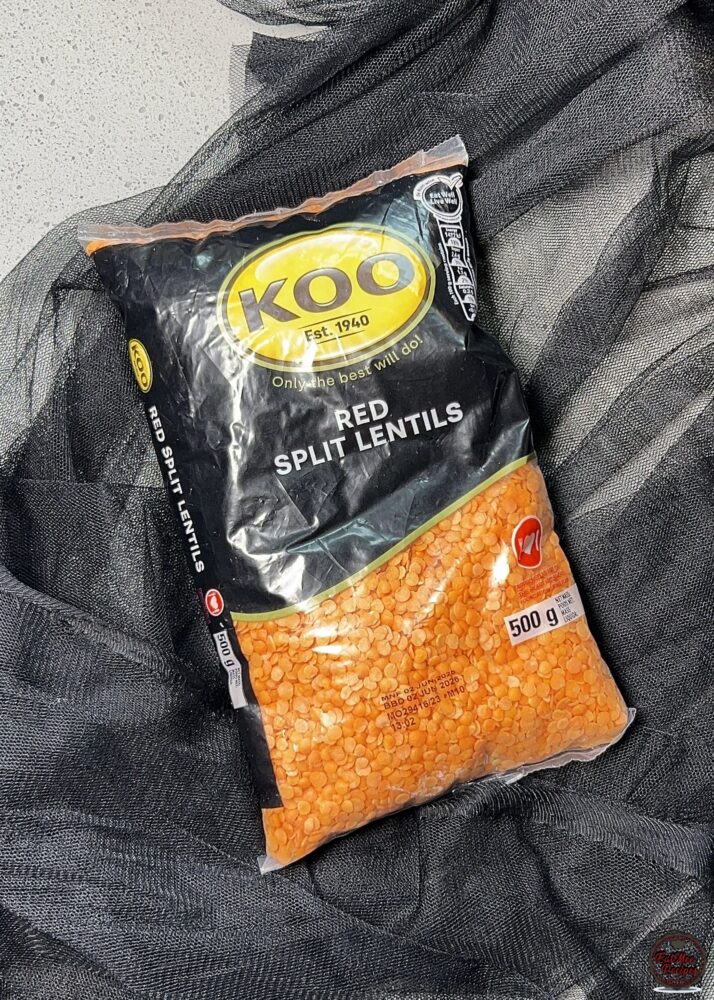
Add the lentils to a bowl.
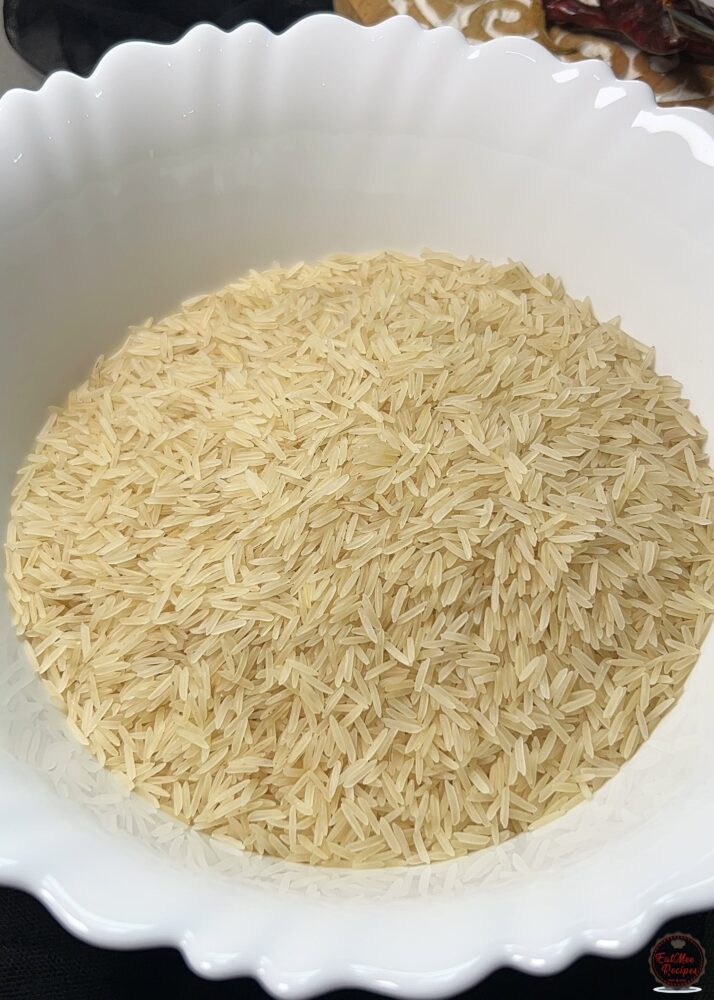
Add the basmati rice to the same bowl. Basmati also cooks faster than parboiled or maize rice that is why I chose to use it.
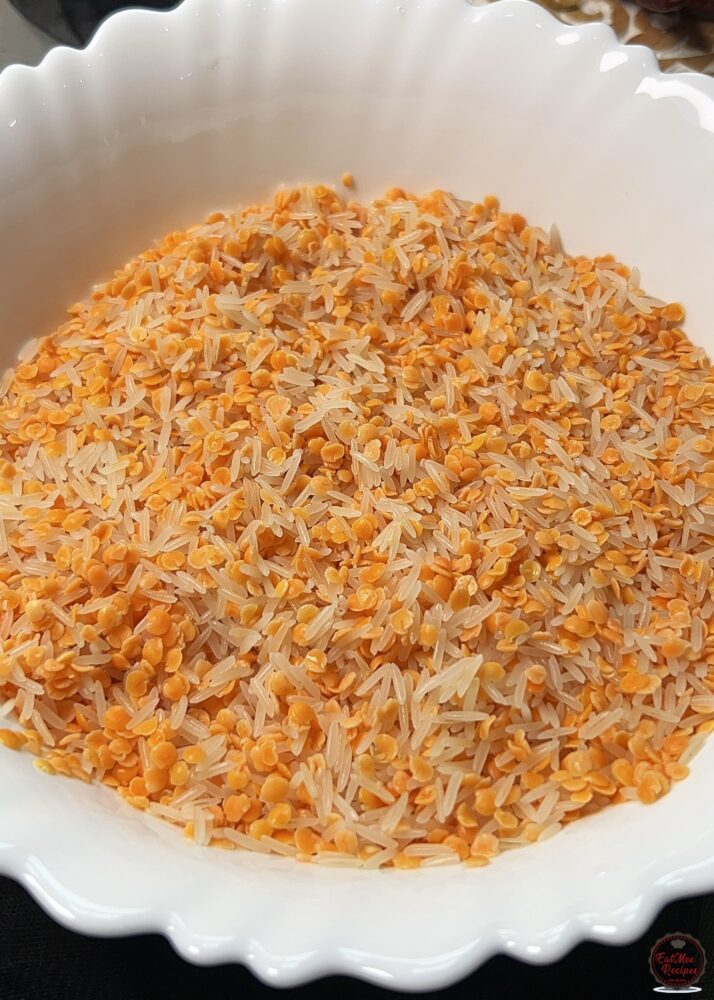
Rinse the basmati rice and lentils together until the water runs mostly clear. Set aside.
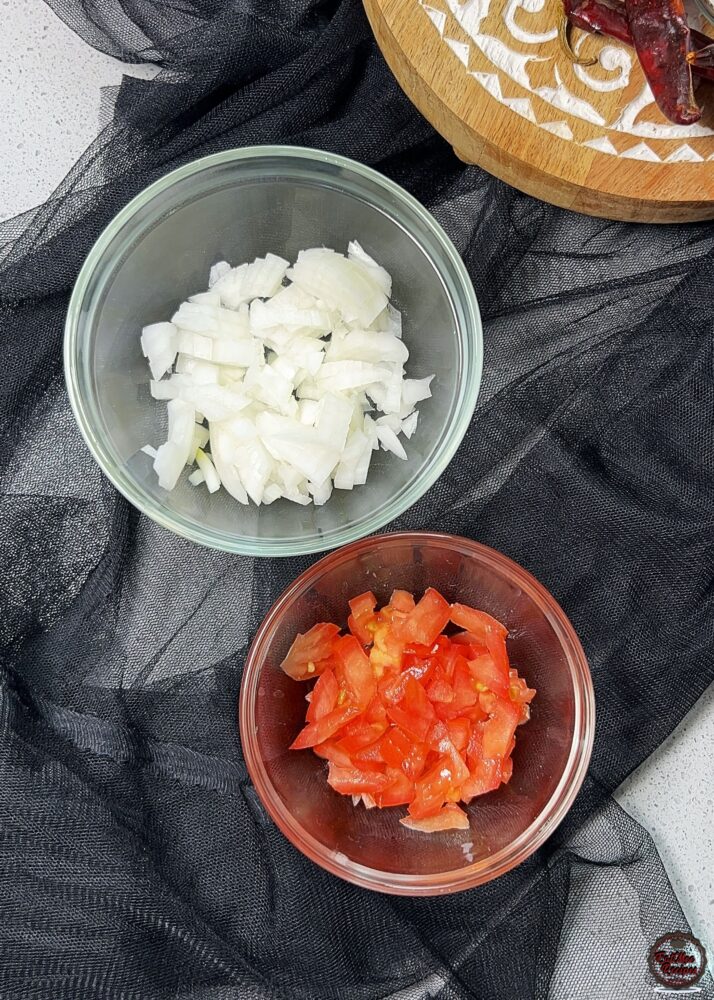
Peel and chop the onion and rinse and chop the tomato.
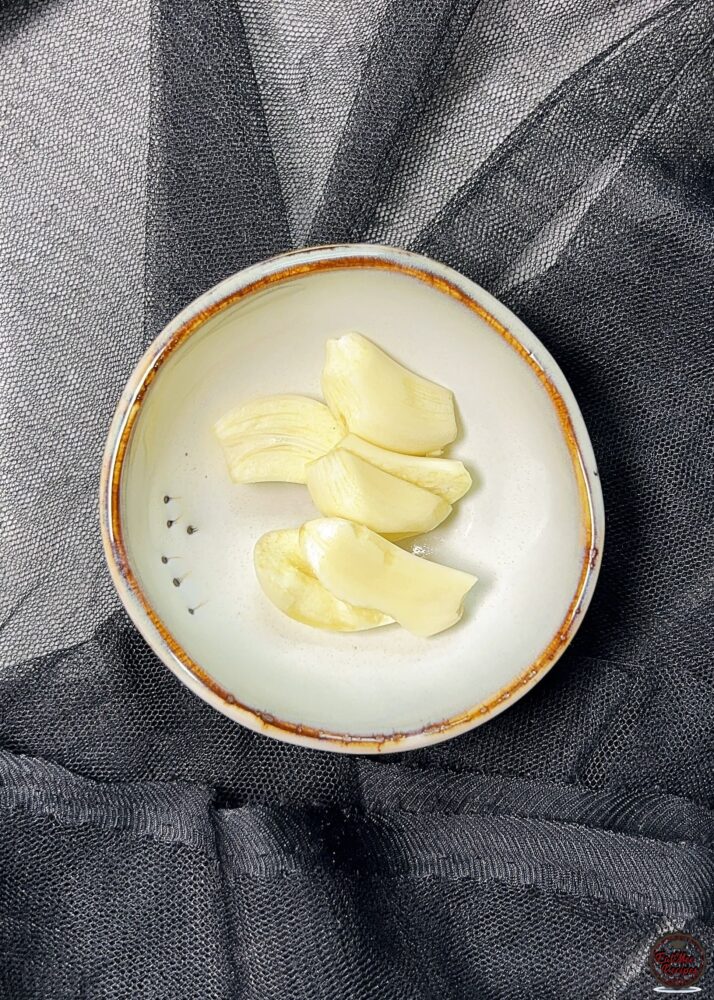
Peel the garlic cloves and slice in halve – or smaller if you prefer.
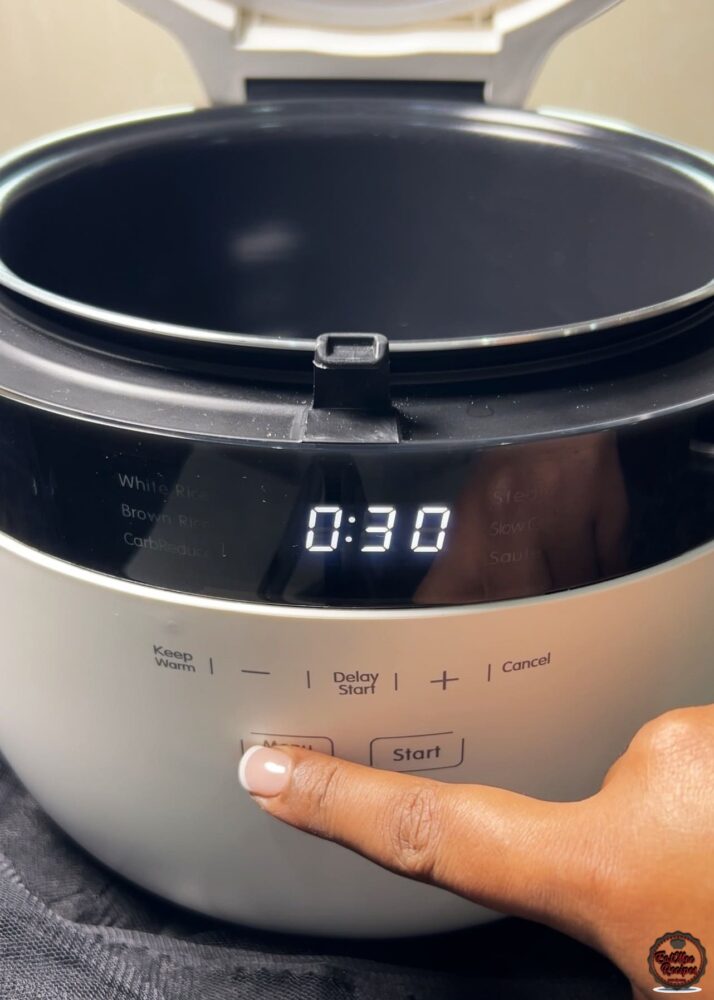
Press “menu select” on your Instant Rice Cooker. Select the “sauté” function.
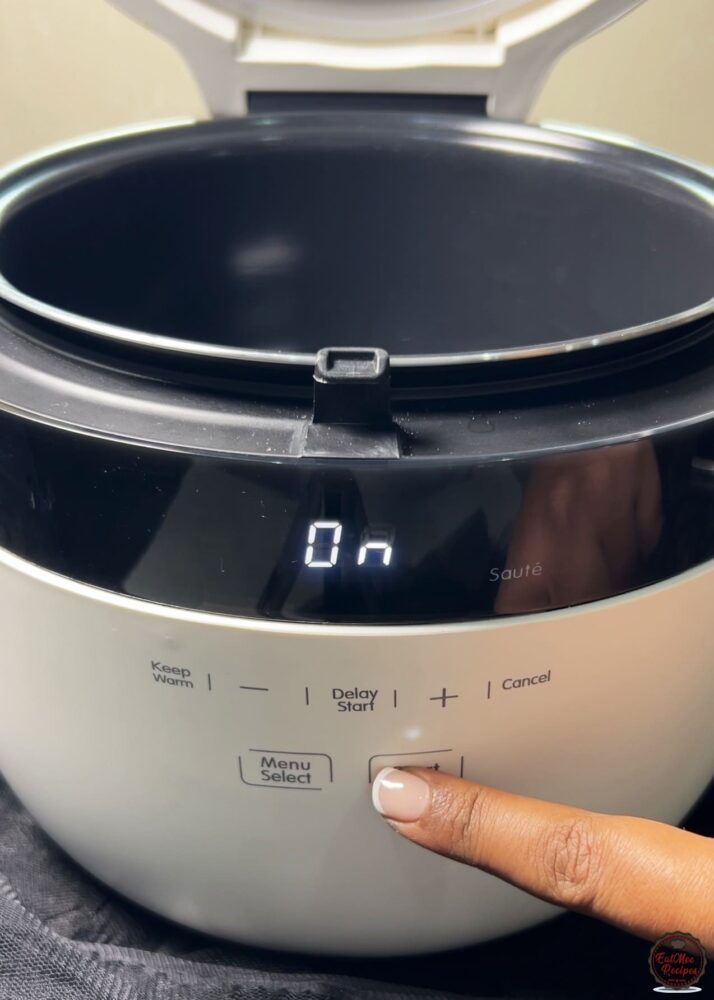
Then press “start”.
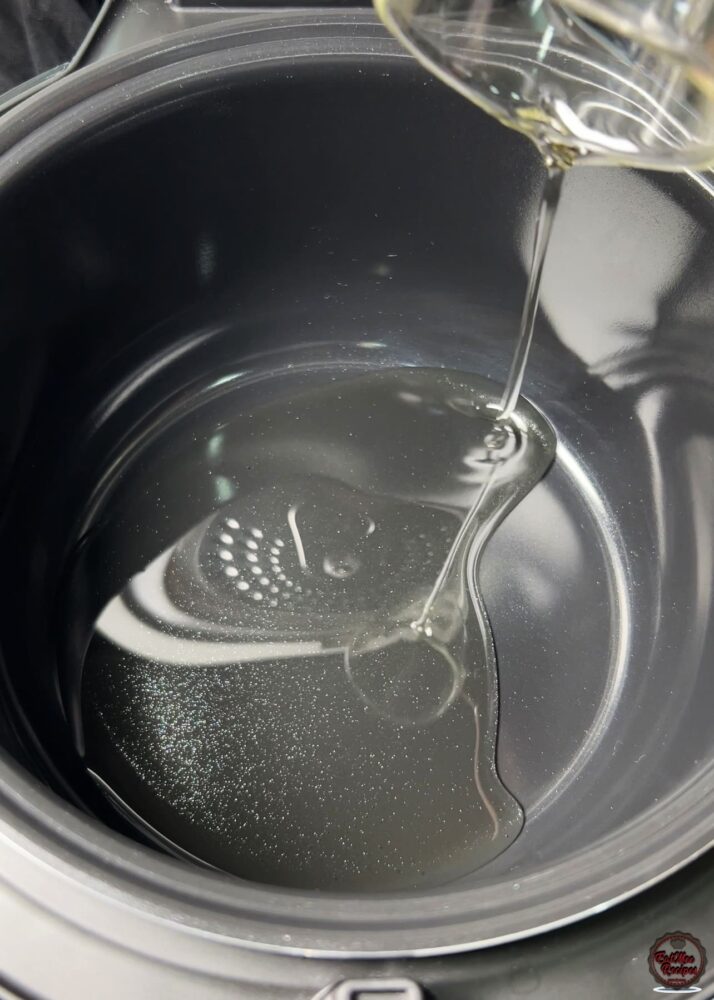
To the inner pot, add in vegetable oil and allow it to heat up a little.
Then add in the chopped onion, garlic, dried chillies, cinnamon stick, bay leaves, cumin (jeera) seeds, mustard seeds, curry leaves and thyme.
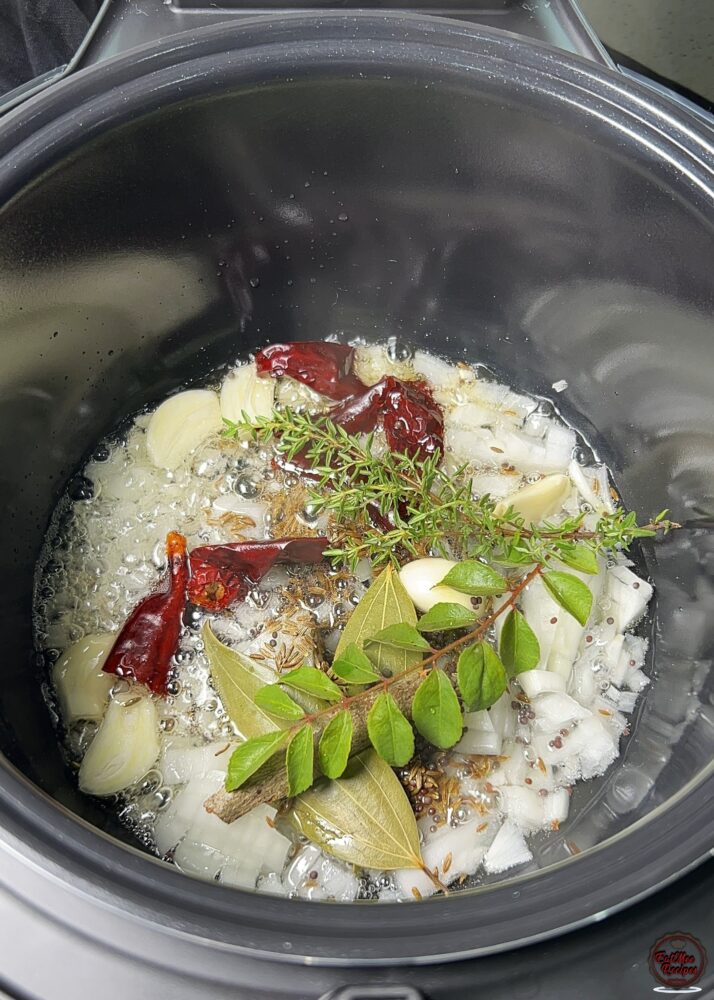
Mix together and allow to sauté until the onions are translucent.
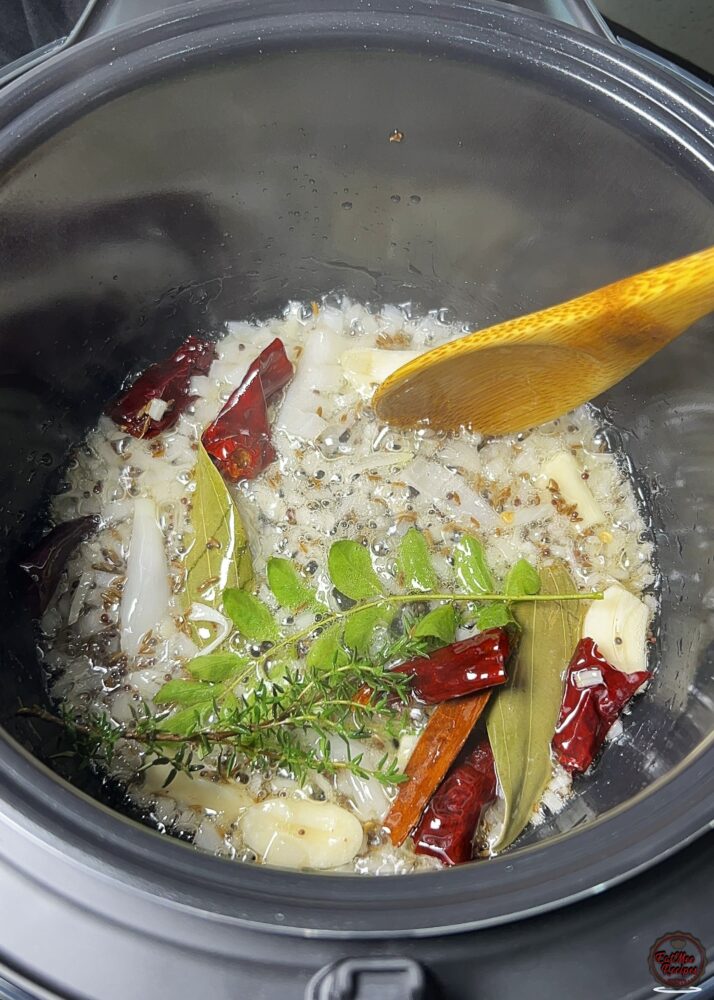
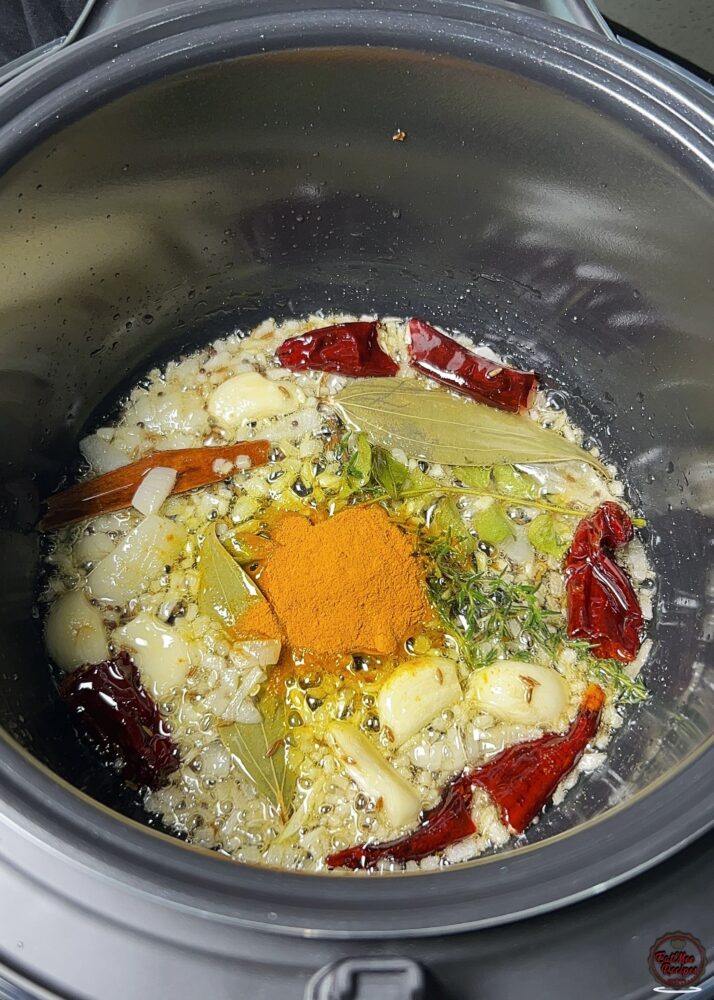
Once the onions are translucent, add in the turmeric powder.
Add in the chopped tomatoes.
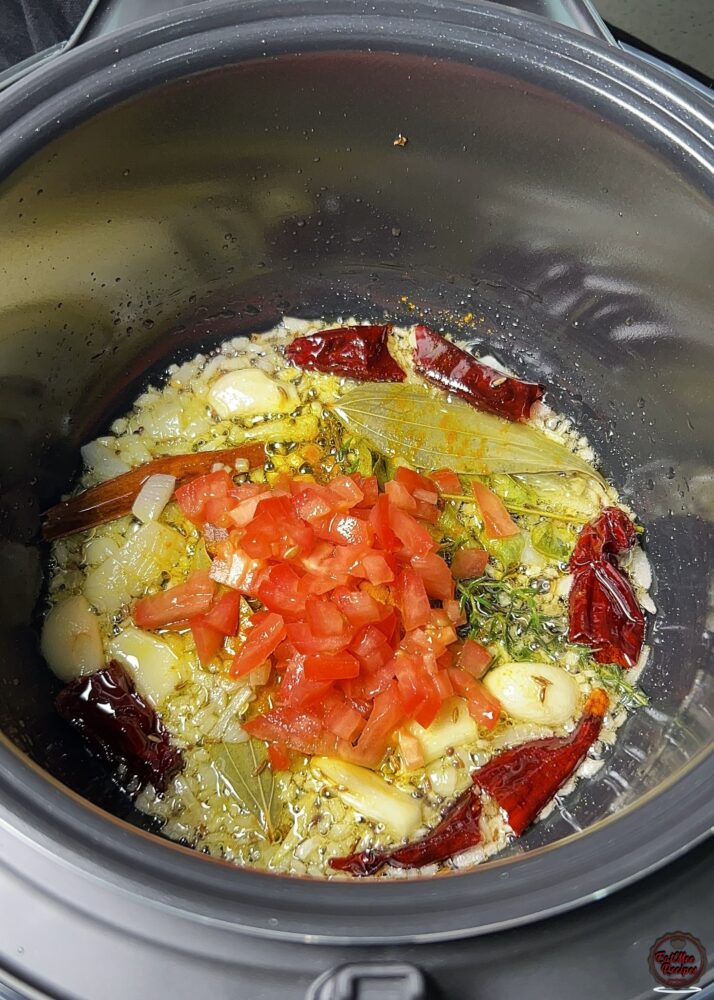
Mix together and salute for 5 minutes until the tomatoes are soft and the mixture becomes fragrant (no need to close the lid).
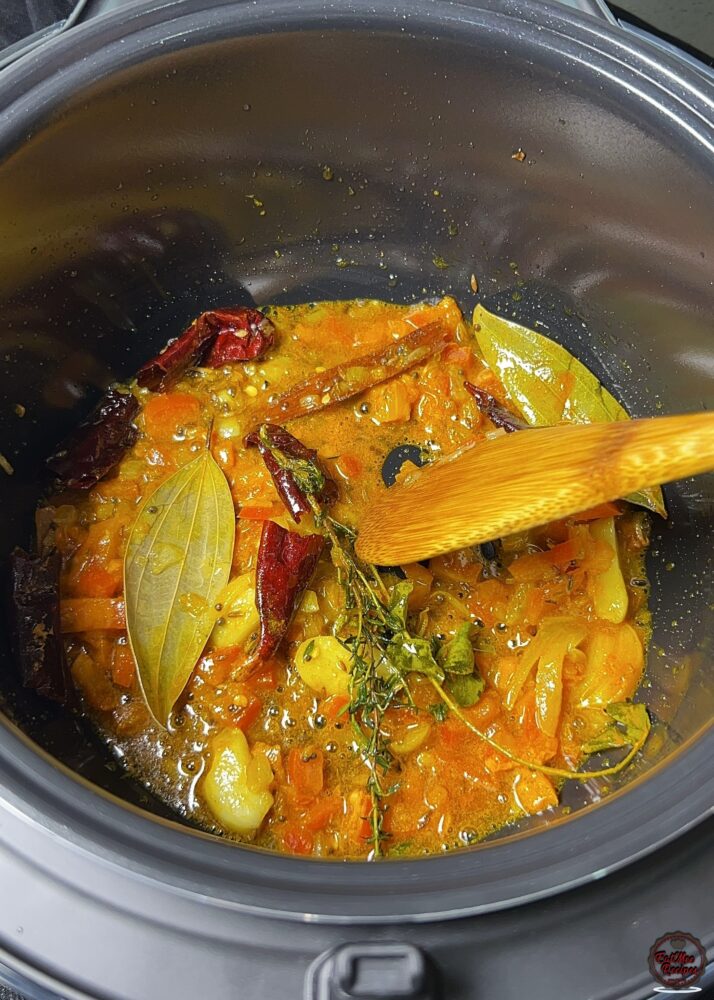
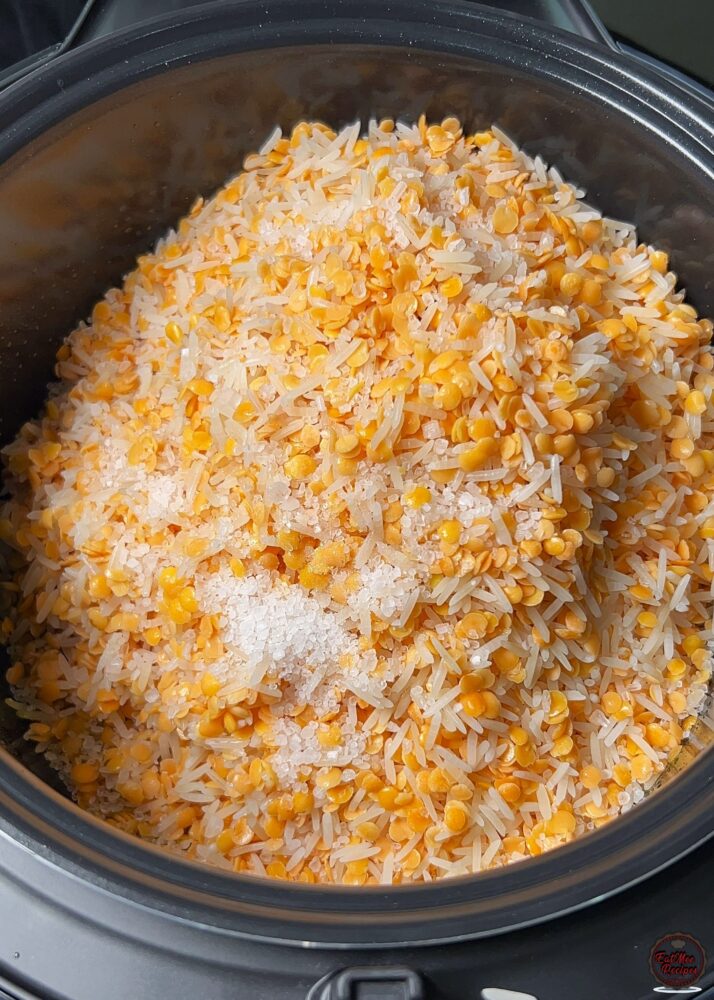
Add the rinsed rice, lentils and salt to the pot, mixing well so that everything is evenly coated in the spices.
Pour in the 4 cups of water – you may need a little more, just make sure it reaches the max line on the inner pot.
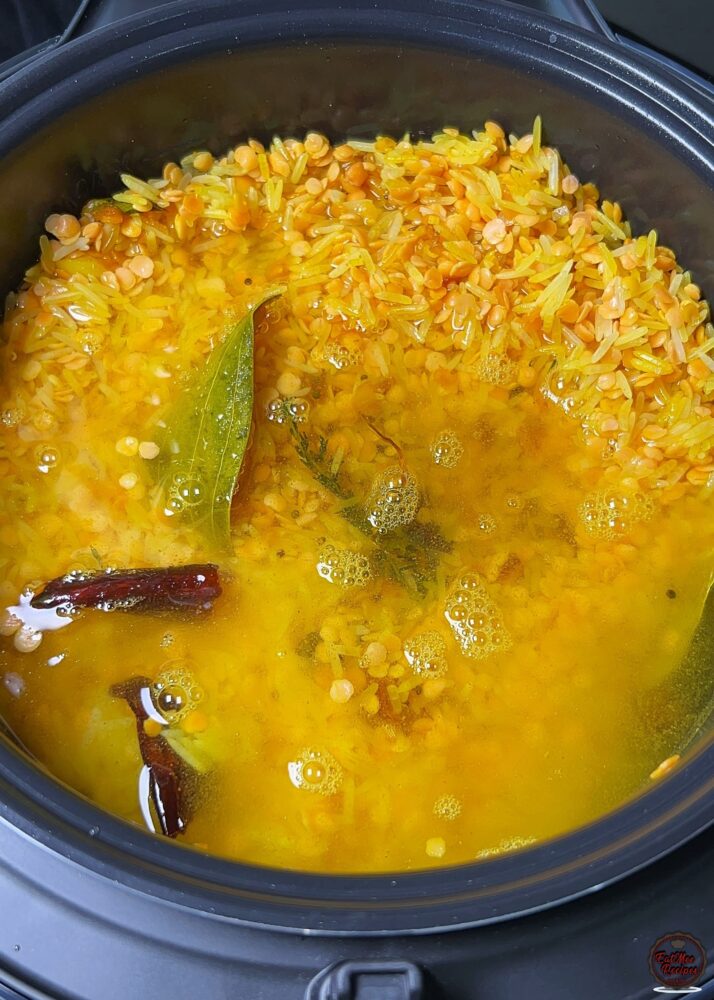
Stir gently, press “cancel” then close the lid.
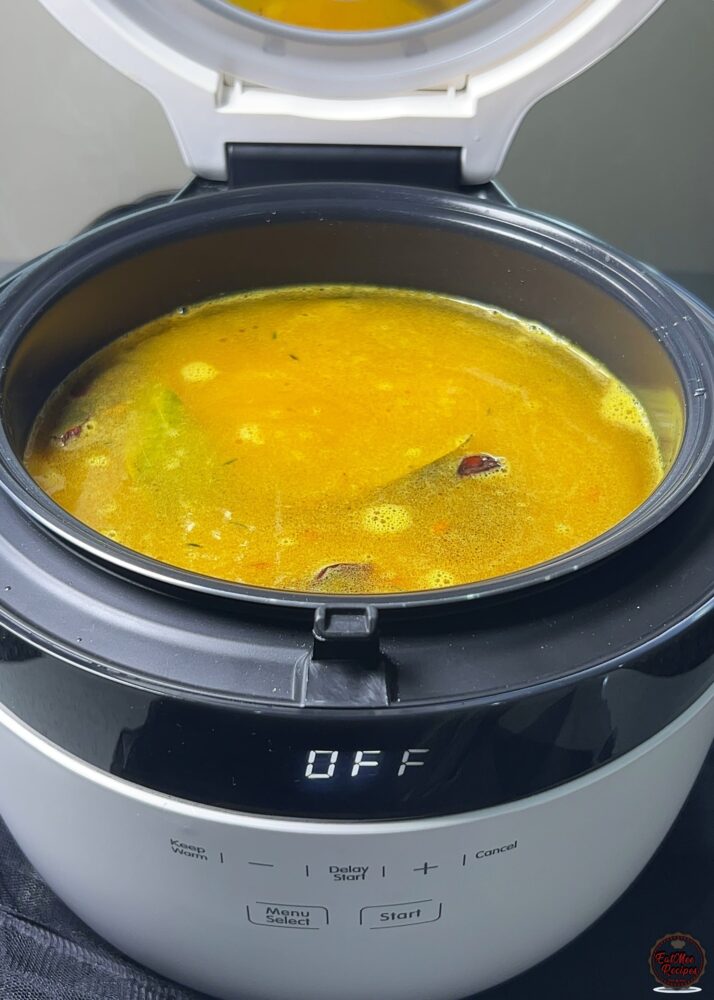
Press “menu select” and choose the “white rice mode”, press “start” and set a timer to cook for 45 minutes.
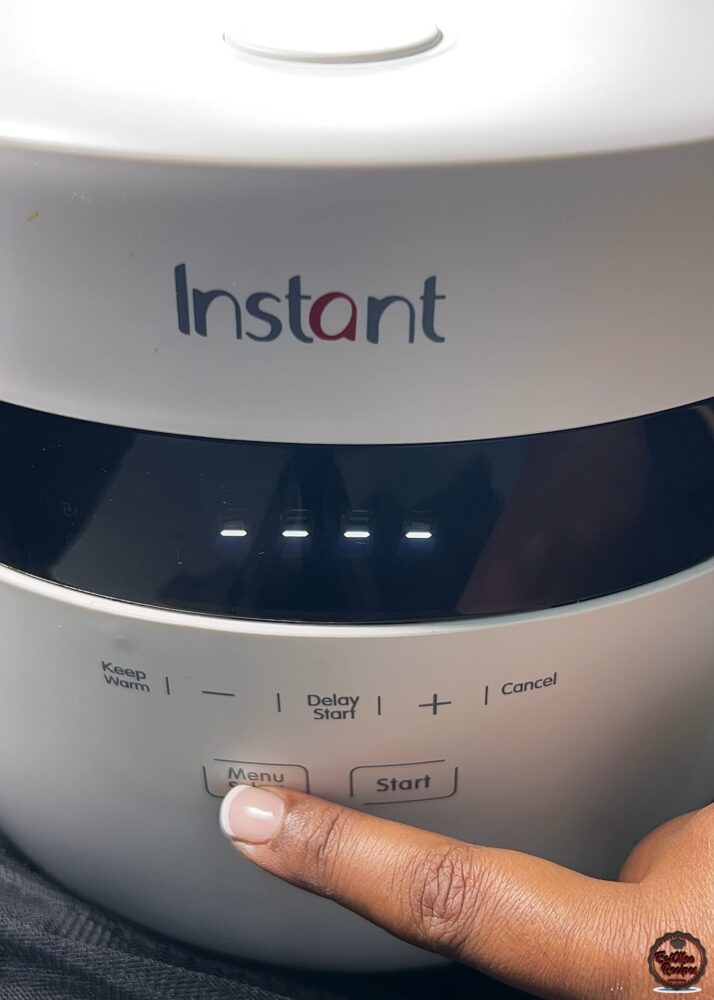
Halfway through, you can open the lid and check if it needs more water or not – I did not find the need to add more.
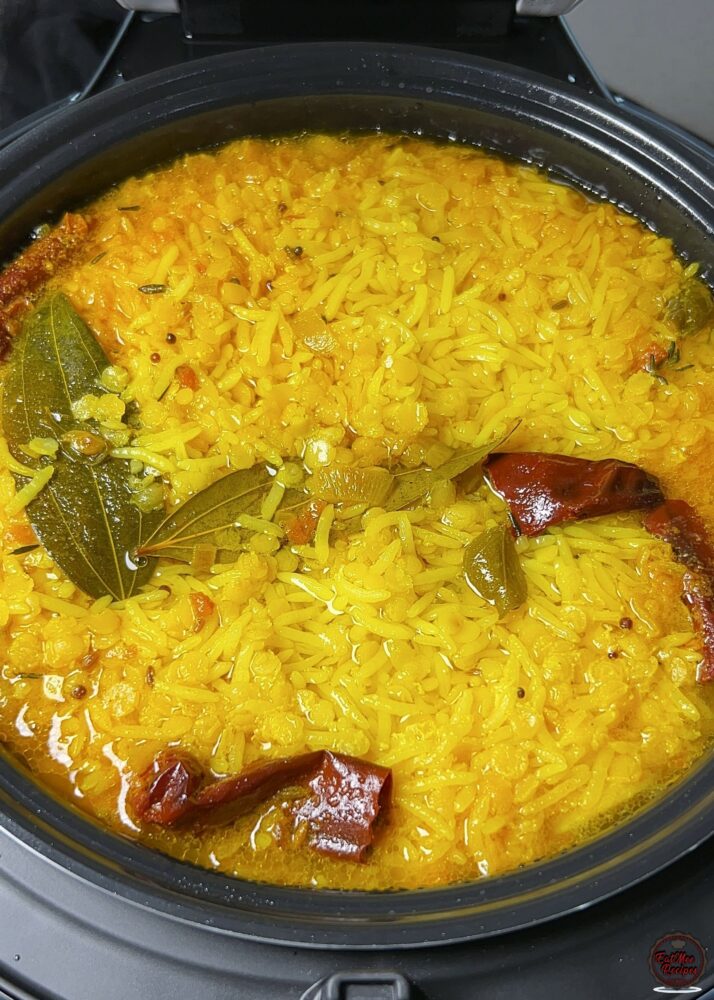
Once 45 minutes is up, press “cancel”.
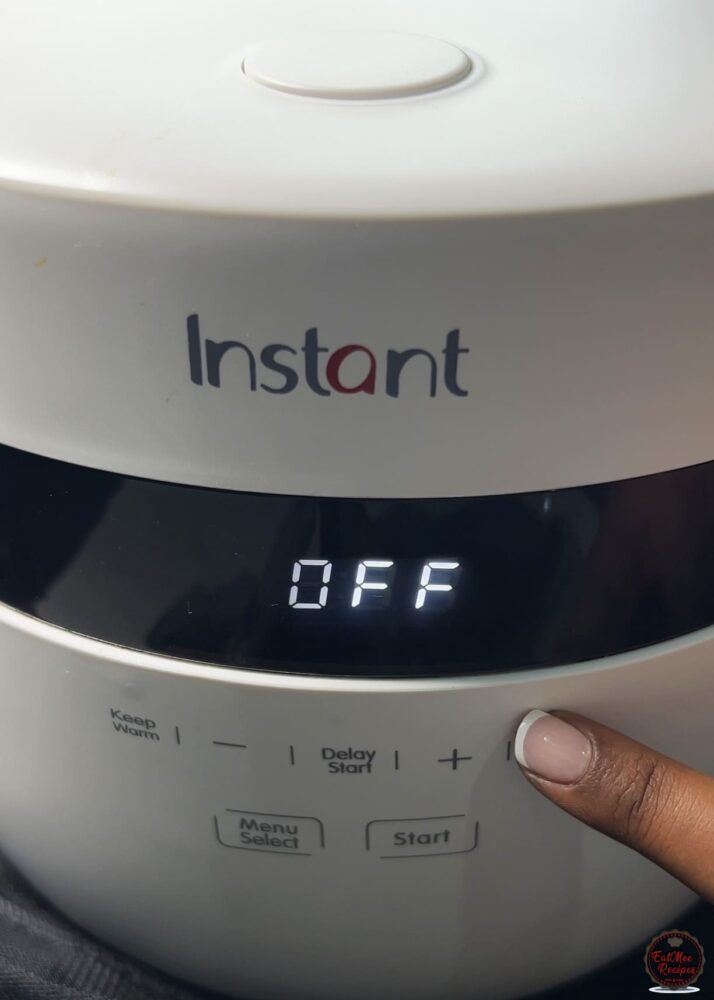
Once cooked, open the rice cooker and give the kitchari a good stir.
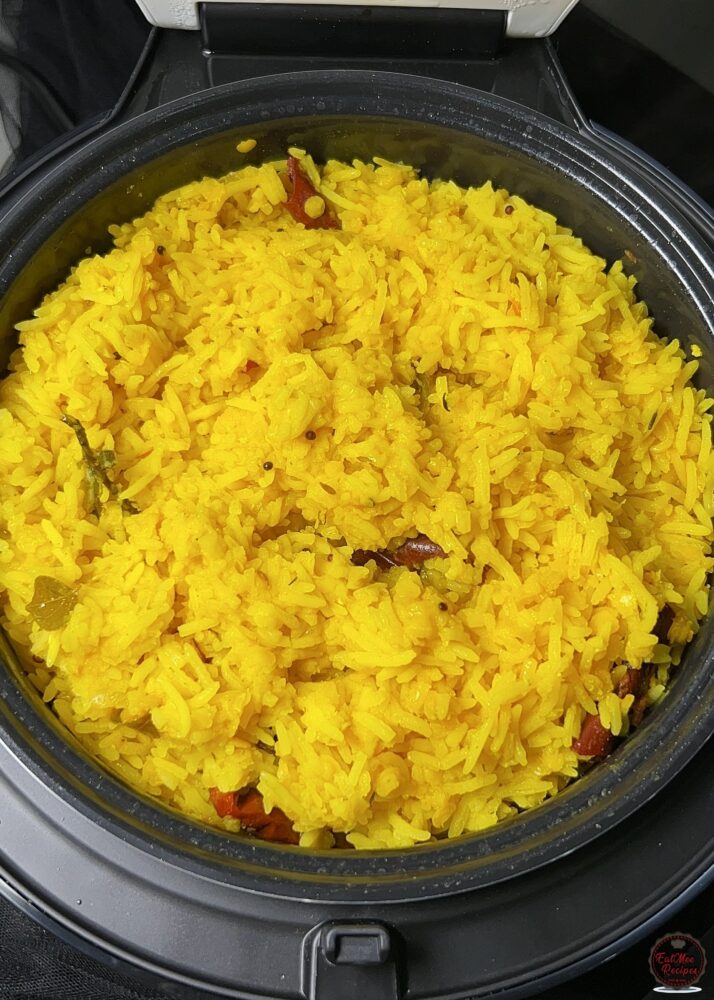
Finish with a knob of butter and freshly chopped coriander (dhania). Stir until combined.
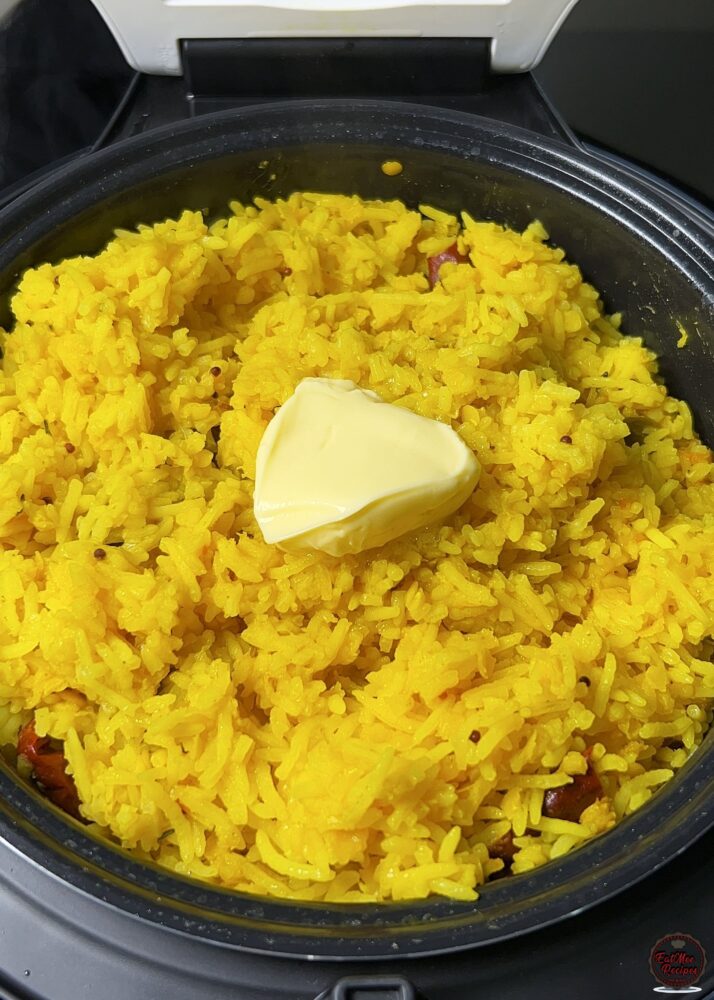
This adds richness and enhances the overall flavour, bringing everything together beautifully.
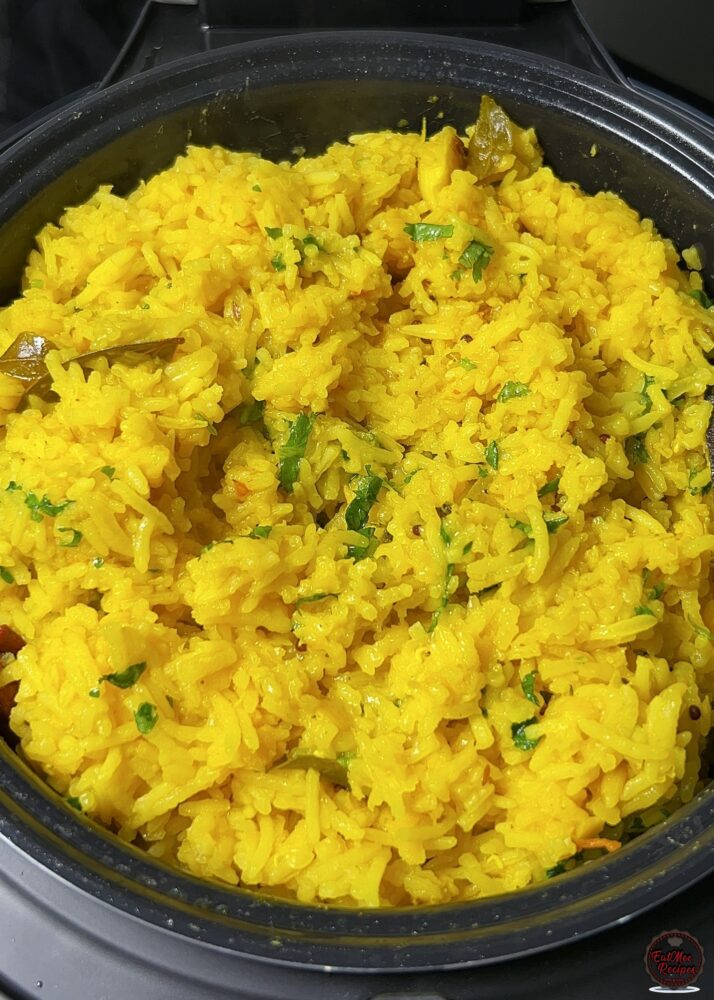
I served this with a side of tomato chutney which was prepared by my mum.
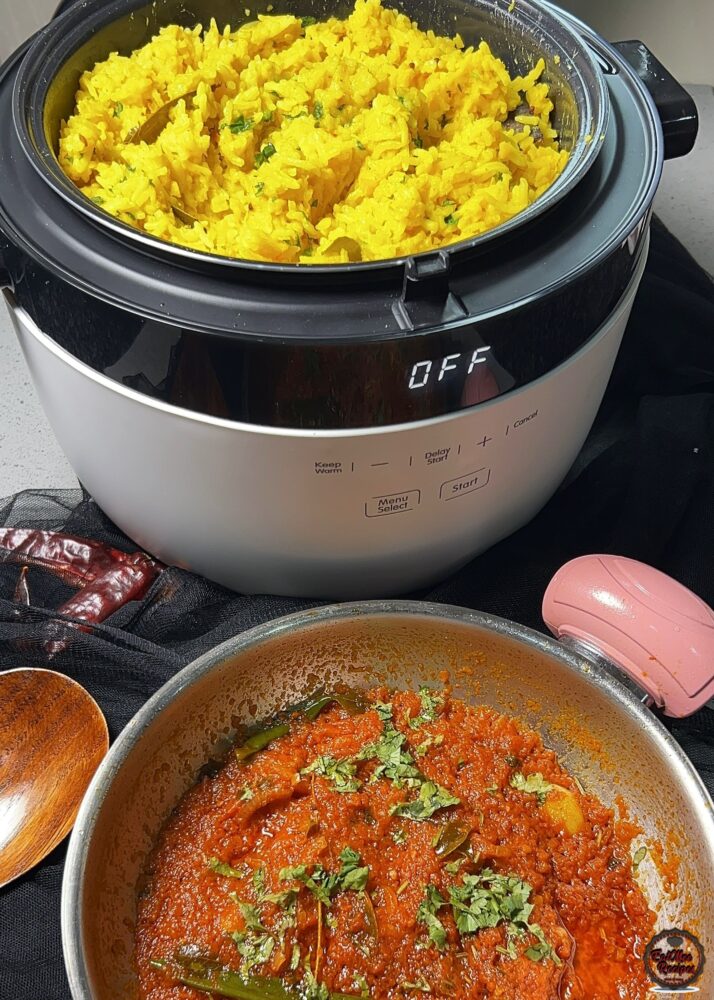
This pair was always a tradition growing up but alternatively it can be eaten with a baked beans chutney/curry or even a chops chutney or dry fish chutney.

Allow the kitchari to cool completely before transferring it to an airtight container, then store it in the fridge for up to 3-4 days or freeze for up to 2-3 months; when reheating, add a little water to loosen it and restore its creamy consistency.